
Adjusting the Printing Position in the Layout Area
Procedure
-
Use one of the methods below to open the Job Settings window.
- Double-click the job to set.
- Right-click on the job to set, then click .
- With a job selected, click
 on the left side of the job tool area, and then click
  Job Settings.
-
Click
 Layout.
-
Click
 at the top of the layout area.
If the icon is blue, it is already selected.
at the top of the layout area.
If the icon is blue, it is already selected. -
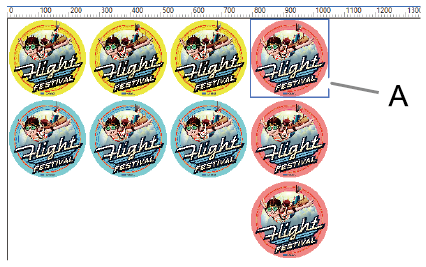
Click a preview image in the layout area to select it.
The selected image is highlighted with a light blue border (A).
 MEMO Select multiple images by clicking the images while holding down the shift key or by dragging the mouse pointer over the images.
 -
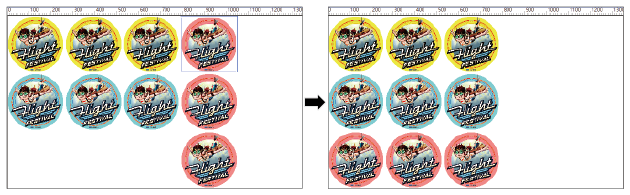
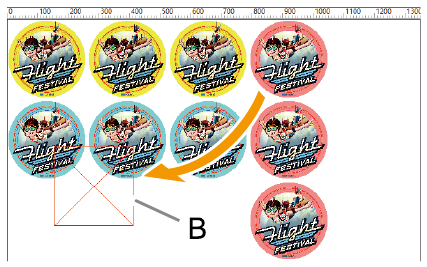
Drag the selected image to a new location in order to set its printing position.
Images cannot overlap each other. If you drag an image onto another image, a red box (B) appears as shown in the figure.
-
Click OK.
You are returned to the main window. You can check the printing position in the layout area of the main window.