Loading Order Information from a JSON File
In the order data output from e-commerce, some order information can be added in a separate file together with the print file.
PAM can load this file (json format) to load the order information. The special file containing order information is hereafter in this topic referred to as the JSON file.
- The file extension of the JSON file must be ".json".
- Write the JSON file to the folder (Hot Folder) that was designated for loading orders into PAM.
- Include the print file save location in "imageFile" in the JSON file. Do not place the print file in the Hot Folder. Instead, place it in the folder specified in "imageFile."
- For the keys which can be recorded in a JSON file and their meaning, please contact our company.
For the process of writing a JSON file from e-commerce (order receiving system), refer to the information released by the system service provider company when setting, consult with the system integrator responsible for system construction, or take similar action.
For the method of setting the folder (Hot Folder) for saving the JSON file, refer to "Configuring Input Manager."
When there is order information that is not written in the JSON file, it is possible to specify the value (fixed value) of that order item. This section considers a case when the color is not recorded in the JSON file, and describes the procedure when specifying white as the color.
- Start the Web browser and access the following URL.
-
Log in to PAM-Web.
Log in using a PAM account and password, not Roland DG Connect.
- Enter the URL to access in Your environment name.
- Enter the user account name in User name.
- Enter the password in Password.
- Click Log in.
-
Click Settings.

-
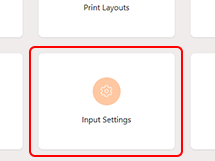
Click Input Settings.
 The Input Settings display appears.
 -
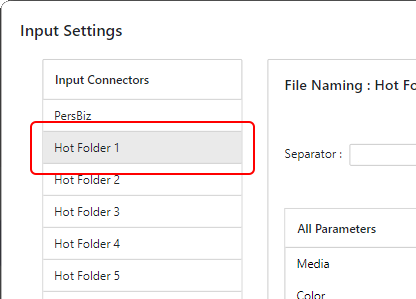
Click one of Hot Folder 1 to Hot Folder 8 under "Input Connectors."

-
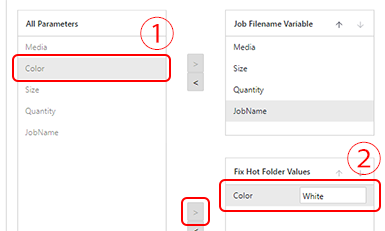
The procedure for setting Color to white is the following.
- Click Color under "All Parameters" and click *** for "Fix Hot Folder Values."
- Click the input field under "Fix Hot Folder Values" and enter "White."

- Check the settings, and click Save.
