
Adding a Print Layout
When a jig was newly created or improved, add or change the print layout that decides its installation position.
When a new print layout was created or the print layout was changed, perform test printing and check that printing is made in the correct position. If the print position is wrong in the results of test printing, adjust the jig position in the print layout and perform printing again. In this way, repeatedly set and perform printing to adjust the output position.
-
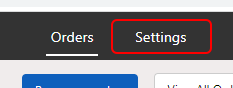
Click Settings.
-
Click Print Layouts.
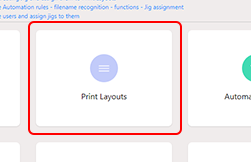 The Print Layouts display appears.
 -
Click New Print Layout.
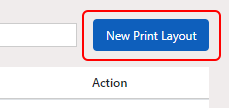 The Add New Print Layout display appears.
 -
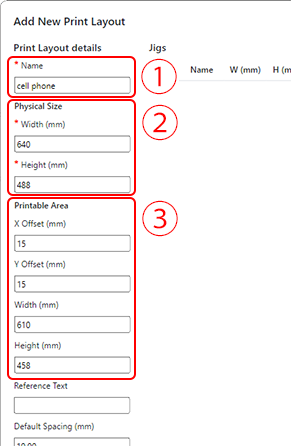
Enter the table size and printable area for the device where the fixing jig is installed.
-
Position the jig in the print layout.
For cases when multiple fixing jigs are installed on a table, it is possible to position multiple jigs in the print layout.
However, it is not possible to position multiple jigs with different Location or Printer Type in the same print layout. It is also not possible to combine jigs with different thicknesses.
- Click + Add Jig.
- Click Name and select the jig to position.
- Enter the distance from the lower right point of the table to the lower right point of the jig in X and Y.

- Check the settings, and click Save.