
Adding a New Jig
When a new jig was created to produce a new product, or when newly using a fixing jig that was improved to increase production efficiency, add a new jig.
Procedure
-
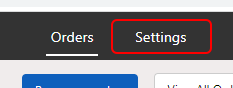
Click Settings.
-
Click Jigs.
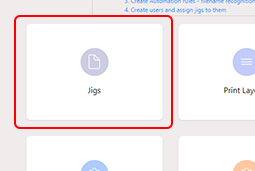 The Available Jigs display appears.
 -
Click New Jig.
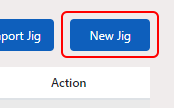 The Add New Jig display appears.
 -
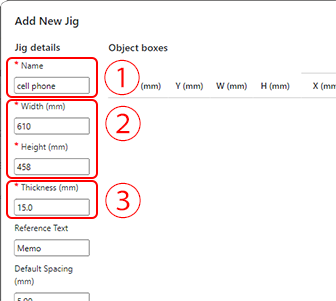
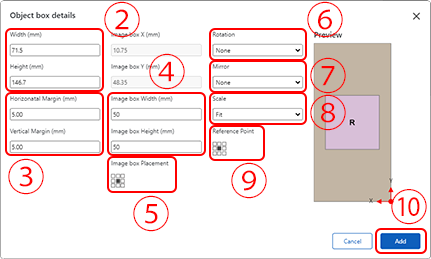
Enter the jig size and thickness according to the fixing jig design drawing (dimensions drawing).
-
Set the object and the print image.
This explains the procedure for jig specifications where multiple of the same object are arranged on the fixing jigs and printing is performed all at once.
-
Click Add Multiple.
The Object box details display appears.
-
Click Add Multiple.
-
Click
 under Location.
The Select Locations display appears.
under Location.
The Select Locations display appears.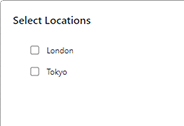
Select the location to place this jig, and click OK.
-
Click under Printer Type.
The Select Printer Types display appears.
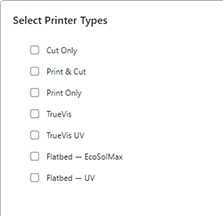
Click a printer type where this jig can be installed to select it, and then click OK.
-
Check the settings again, and then click Add.
Copy an Object box and position each copy at the set distance with one copy on each jig.
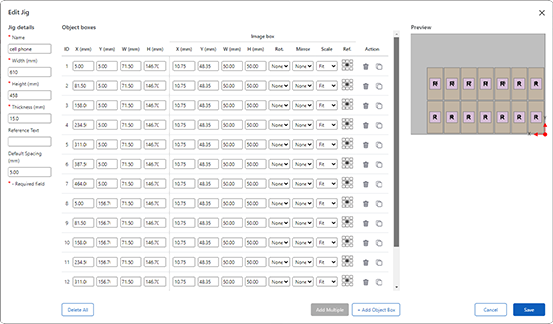
- Click Save.