
Using Automatic Processing to Reduce Work Time
This uses the order information loaded into PAM to select an order, and automates some of the various settings for the selected order. For example, it can automatically assign the jig for fixing the object, or specify the print quality.
The selection conditions are set in the order information type and contents, and multiple conditions can be set. For example, it is possible to set the Print Quality to Standard, such as when the Media is Sticker and the Size is LL.
Procedure
-
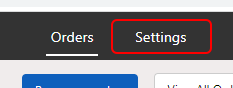
Click Settings.
-
Click Automation Rules.
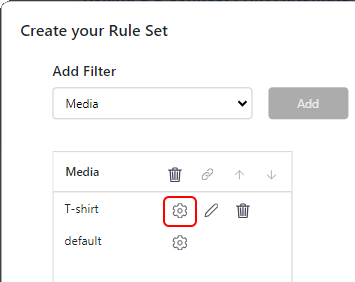
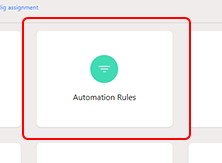 The Create your Rule Set display appears.
 -
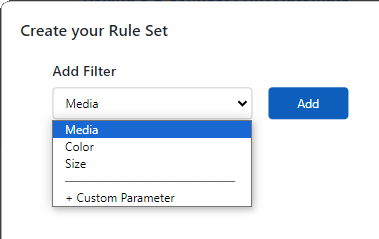
Click Add Filter and select the item to set a condition for, and then click Add.
-
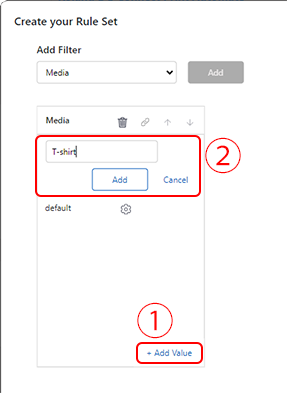
Add a keyword for selecting orders.
- Click + Add Value.
- Enter the keyword, and then click Add.
-
Click
 .
.
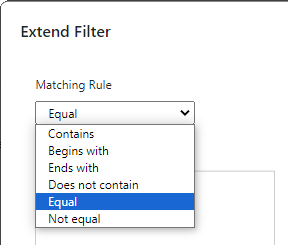
 The Extend Filter display appears.
 -
Click Matching Rule and select the condition for matching.
You can set for example a complete match, matches beginning with ABC, or matches that do not contain ABC.
-
Select the print setting to add to the orders which match the conditions.
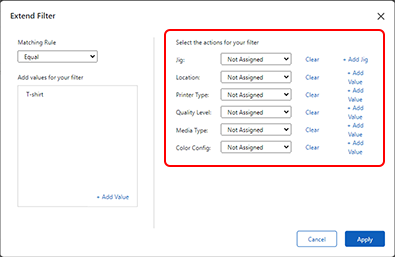
- Check the settings, and click Apply.
-
To add a selection condition, select the condition to add and then perform the operations in steps 3 to 8.
For orders which match all conditions, the setting (jig, print quality, etc.) at the end of the conditions (second condition when there are two conditions, third condition when there are three conditions) is applied. Be aware that in this case, the settings other than the condition at the end are ignored and not applied.