Adjusting the Printing Position in the Layout Area

Procedure
-
In the job list, double-click the job.
The Job Settings window appears.
-
Click
 .
.
-
Click
 at the top of the layout area.
-
Click a preview in the layout area to select it.
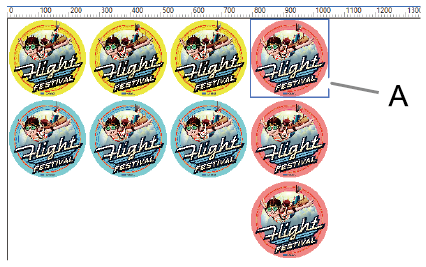
The preview image of the selected job is highlighted with a light blue border (A).
 MEMO Select multiple jobs by clicking the preview images while holding down the shift key or by dragging the mouse pointer over the preview images.
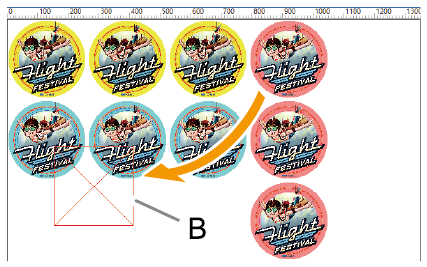
 - Drag the selected preview image to a new location in order to set its printing position.Jobs cannot overlap each other. If you drag a preview image onto another job, a red box (B) appears as shown in the figure.

-
Click OK .
You can check the job's printing position in the layout area of the top window.