
Setting the Spacing from the Adjacent Image
Procedure
-
Perform the operation shown below according to what is being set.
- Job: Double-click the job to open the Job Settings window.
- Queue folder: Click
 for the queue folder to open the Queue Properties window.
-
Click
 .
.
-
Specify the values for Tile Spacing and Spacing with Print Properties.
MEMO The items that can be selected vary depending on the printer.
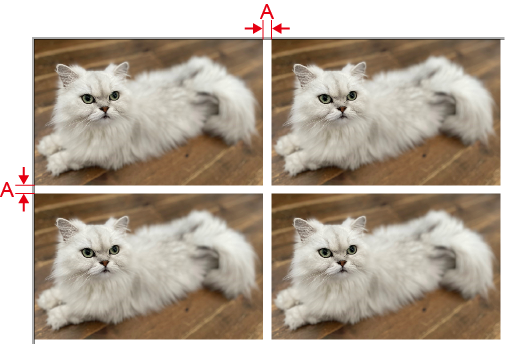
- Equal X and Y Spacing
Specifies the Spacing from the adjacent image. The same vertical and horizontal Spacing (A) can be specified.
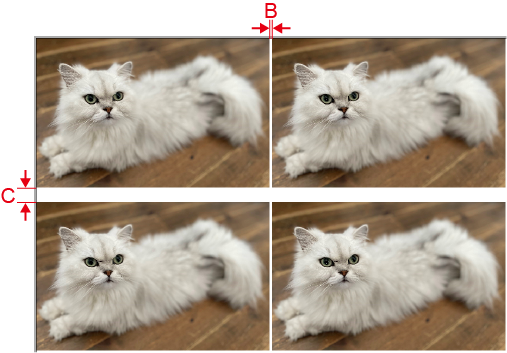
- Separate X and Y Spacing
Specifies the spacing from the adjacent image. Separate values can be specified for X (B) and Y (C).
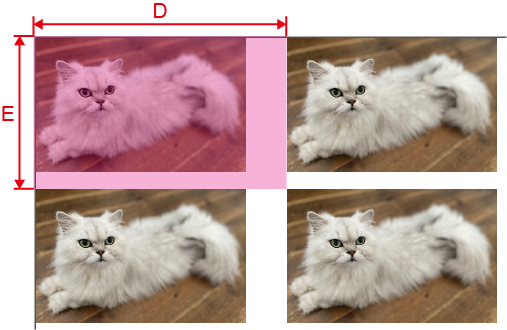
- Grid Spacing
Specify the value of the image size plus the spacing from the adjacent image. Specify values separately for W (D) and H (E).
- Equal X and Y Spacing
-
Click OK.
- Any changes made in Job Settings will be applied.
- When changes are made in Queue Properties:
- A message that printing settings will be overwritten appears. Click Yes.
-
To apply the changes to a job already in the queue folder, select the job and click
 . The changes are reflected in the layout area of the top window.