
Step 2: Change the Print Settings of the Job
 |
This section explains how to configure settings on the Job Settings window. When each setting has already been configured according to Configuring the Queue Folder, there is no need to configure settings at this time. |
Procedure
-
Use one of the methods below to display Job Settings.
- Double-click the job.
- Right-click a job, and then click Job Settings .
- Select a job, and then click
 on the job tool bar.
 - Select a job, and then click .
- Double-click the image in the layout window or preview window.
The Job Settings window appears.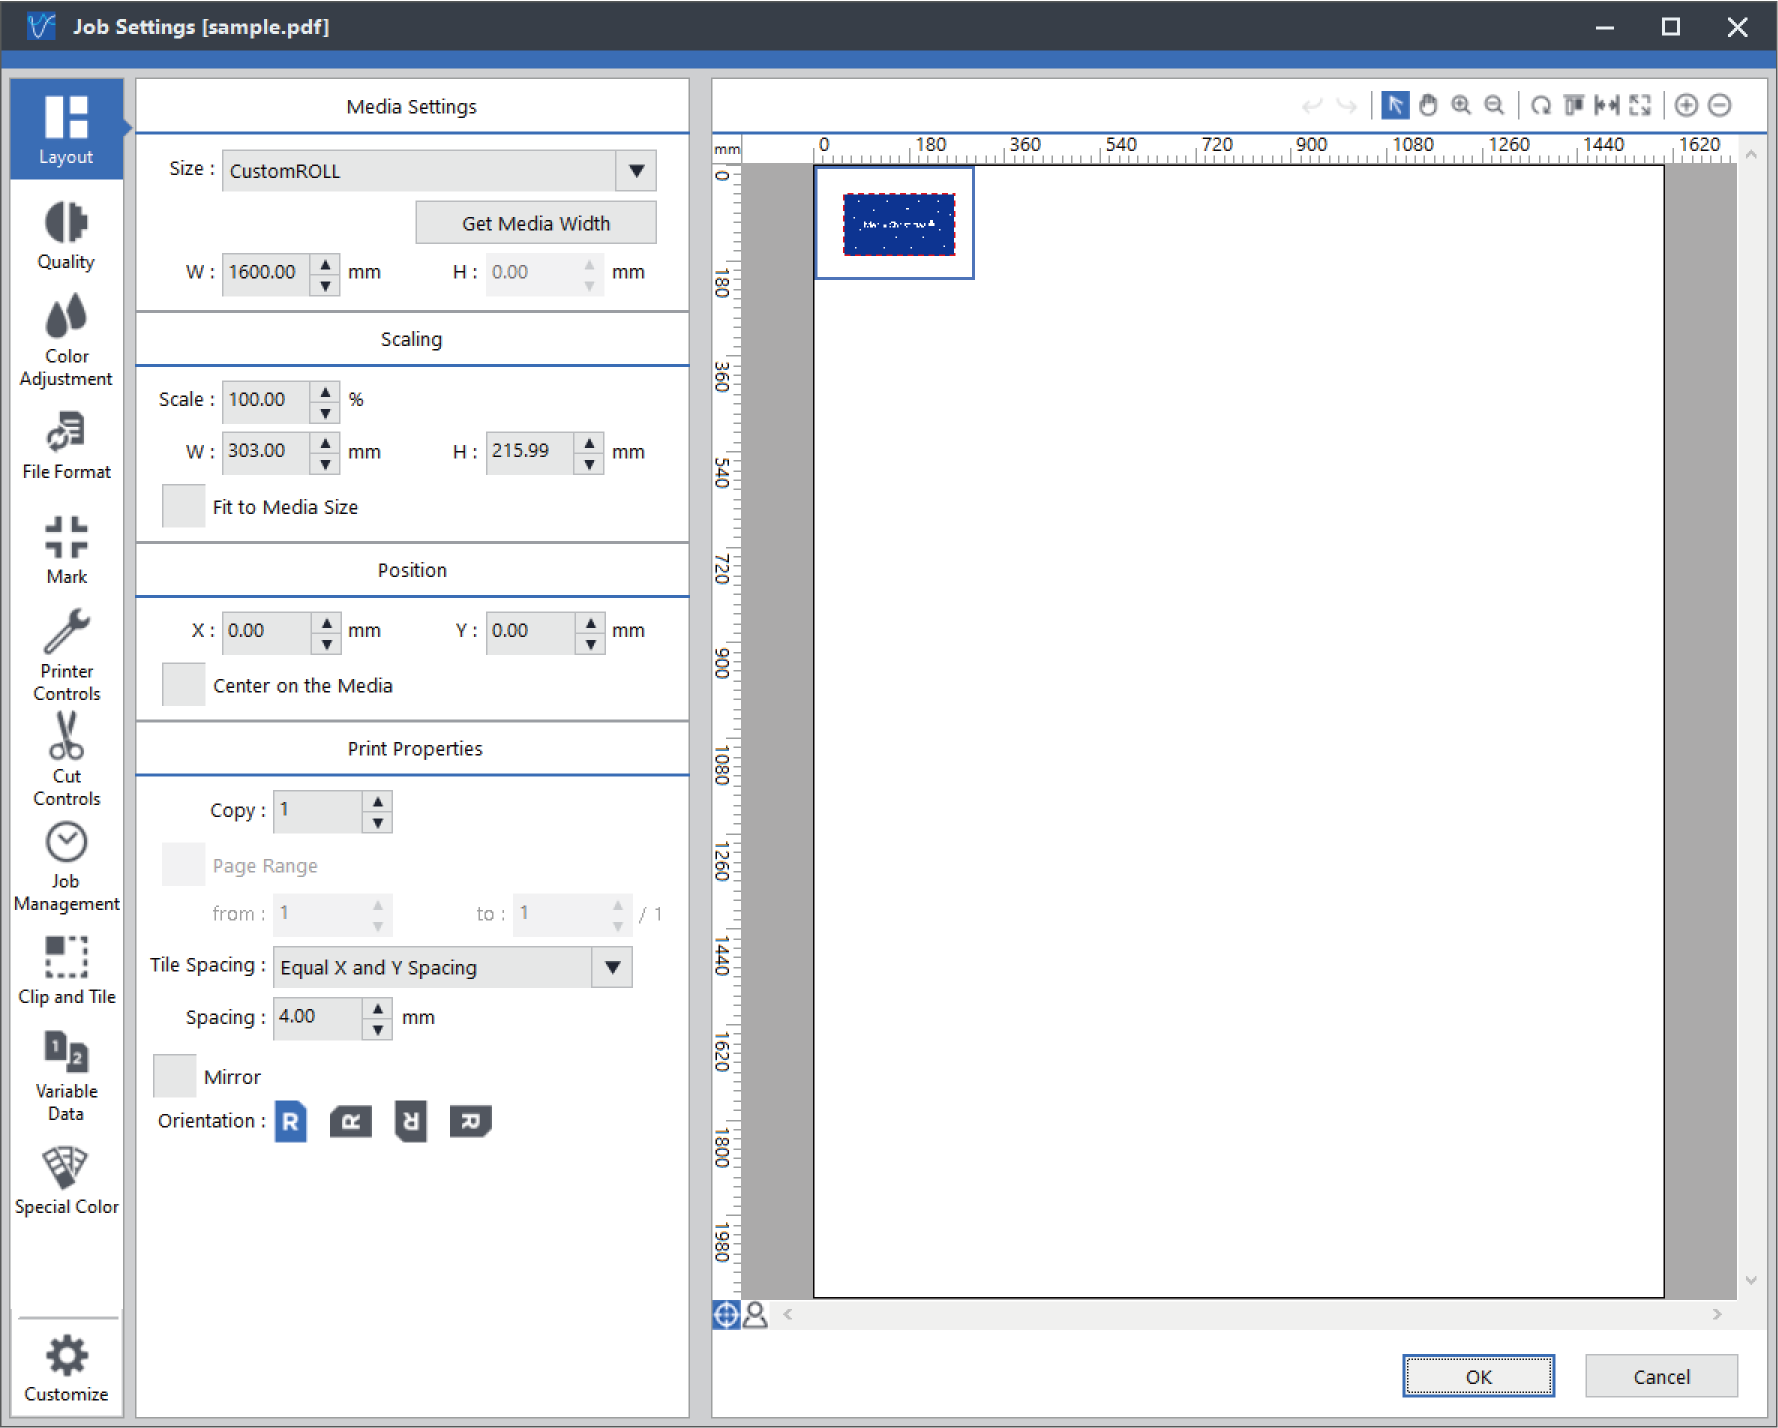
-
Make the necessary changes to the settings.
You can configure various settings from the icons on the left side.
Example of settings
- Layout:
- Quality:
- Printer Controls:
- Click OK.
 Step 3: Outputting