Creating Cutting Lines along Contours in Images
This section explains how to create cutting lines that follow the contours of an image.
Refer to Creating Cutting Lines for information on how to create cutting lines when creating figures such as circles and squares and placing photos and designs within them.
-
Click
 .
.
-
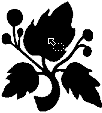
Click a black part of the image.
The path is created according to the contour of the black part of the image.
-
Click
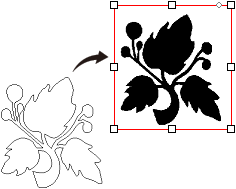
 , and then drag the image to move it.
Put the image aside for a moment to make the path easier to edit.
-
Delete any unnecessary paths.
In this example, there are no unnecessary paths to delete, so there is no need to do so.
-
Create the cutting path around the outside of the image.
Select the path created in step 2, and then click
 .
.
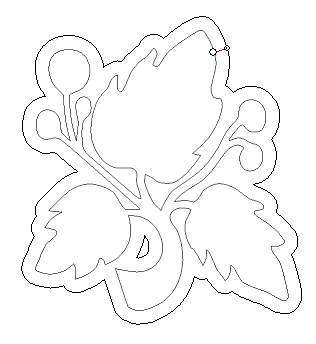
If the outline tool is not displayed, hold down the button to select it.

-
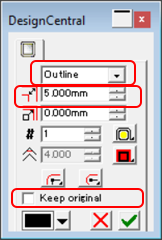
Configure the settings in the
Design Central dialog box.
-
Click
 .
.
Be sure to click
 because performing another operation without clicking it will cancel the path generation.
IMPORTANT
because performing another operation without clicking it will cancel the path generation.
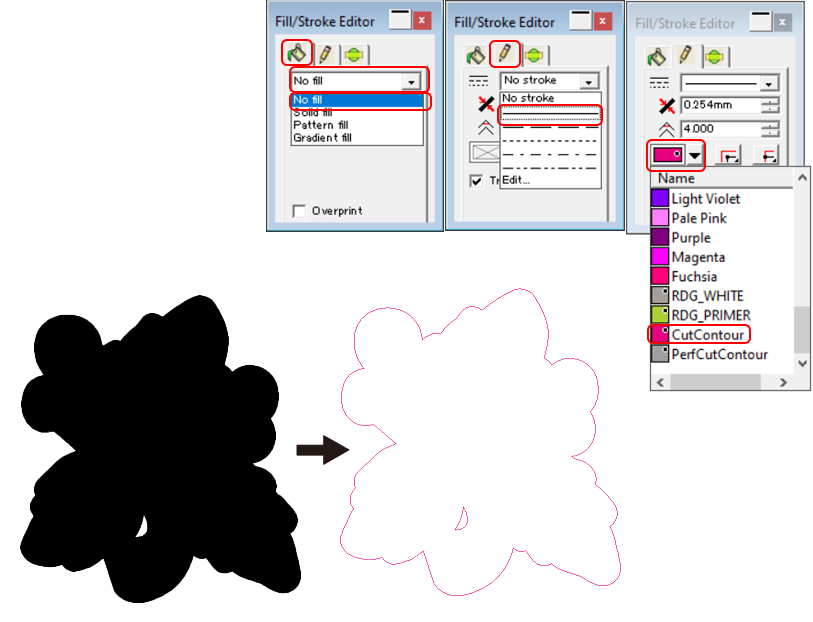
IMPORTANTThe contour cutting path is displayed filled with the default color or the last color that was set.
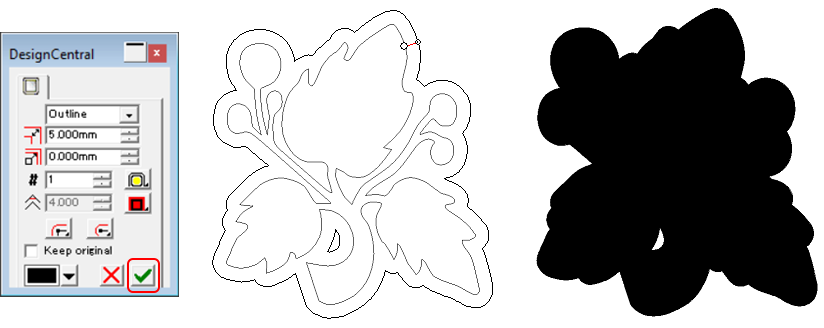
-
Configure the settings in the
Fill/Stroke Editor dialog box.
-
Align the image and the cutting line.
Select the image and the cutting line, and then click .
The center points of the two objects are matched, aligning these objects.
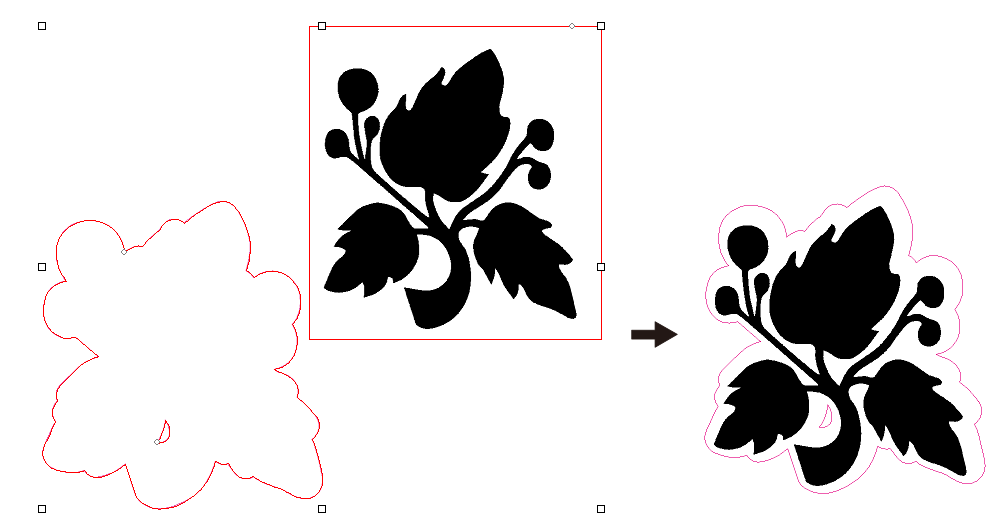
 tab.
tab.
 tab.
tab.
