Creating a White Base
This topic applies to printer models equipped with white ink. Note that models not equipped with white ink are not relevant to this topic.
When printing on transparent or dark-colored media or objects, a white base is printed with white ink to properly express the color printed.
-
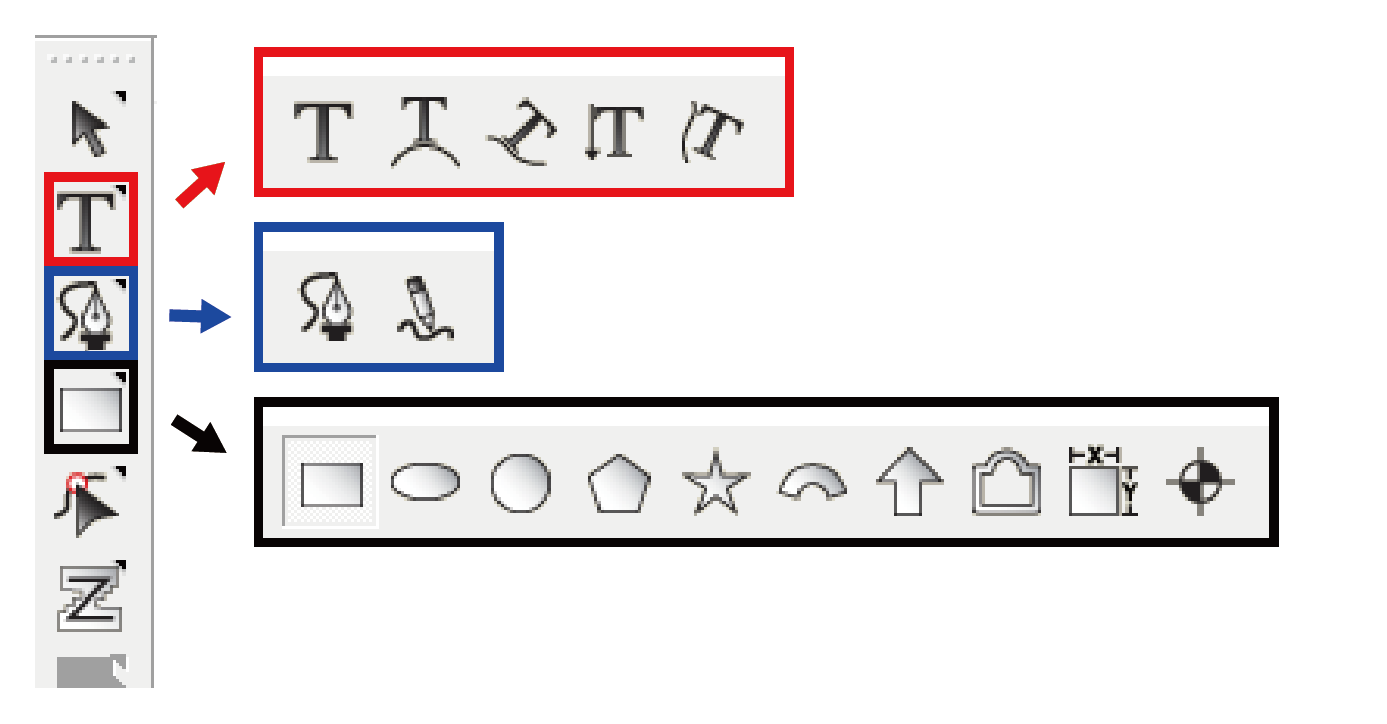
Create the shape you want to print in white with characters, lines, or figures.
You can hold down
 ,
,  , or
, or  to select another tool.
-
Click
 .
.
Interface items appear on characters, lines, and shapes.
-
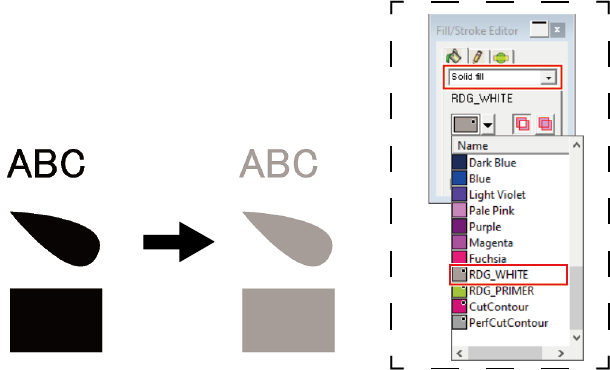
Select Solid fill on the
 tab in Fill/Stroke Editor.
-
Select RDG_WHITE for the Fill Color.
A white base is created.
MEMOYou can create a base for the primer by selecting RDG_PRIMER. Set spot colors, such as white and primer, with Fill Color.

-
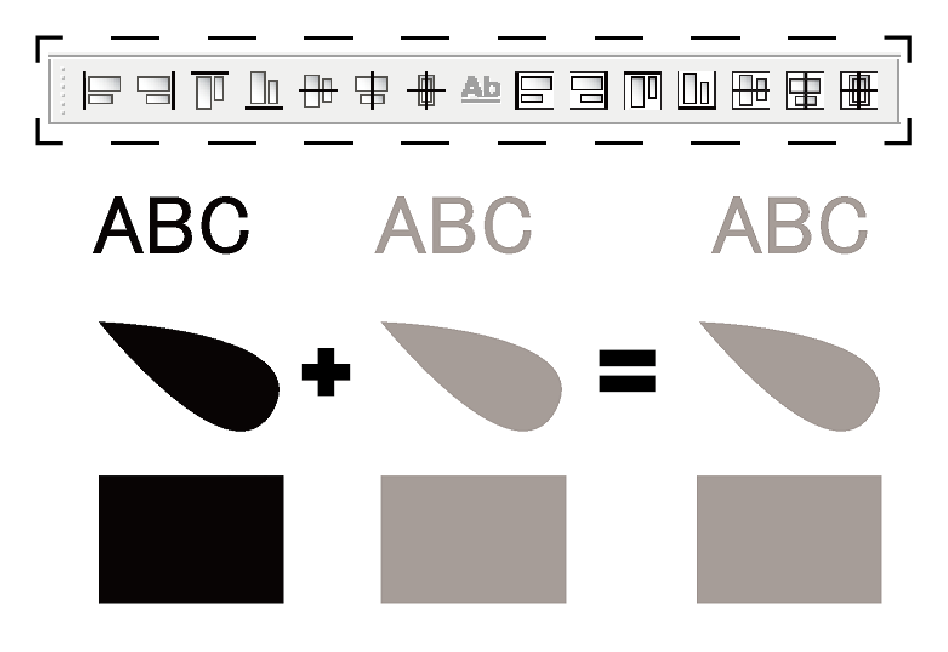
Place the characters, lines, and shapes on the white base created in step 4.

When overlapped, the photos and designs placed below the overlapping objects will be hidden.
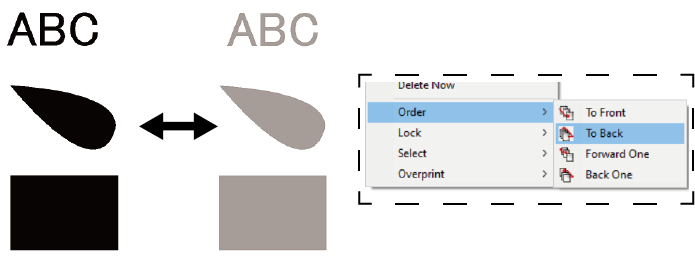
In such cases, select the characters, lines, or shapes that are displayed.
Right-click the selected items, and then select Order to change the order in which the characters, lines, or shapes are layered.
