
Creating Printing Data for Primer Ink
When creating printing data for primer ink in Adobe Illustrator, follow the procedure below to create two layers for easy operation: one for colors and one for the primer ink of spot color swatch RDG_PRIMER.
Procedure
- Click .
- Select the printing data from the desired folder, and then click Open.
-
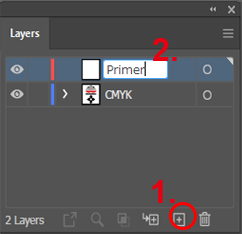
Create a new layer.
Change its name to "Primer."
-
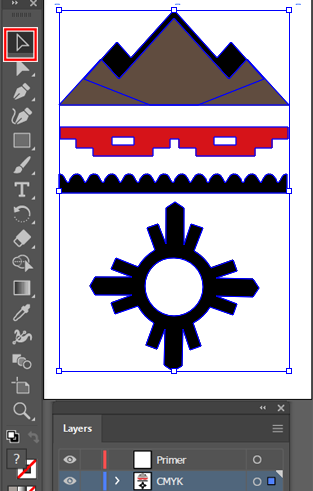
Select the data to print.
Hidden layers and locked data cannot be selected.
- Click .
-
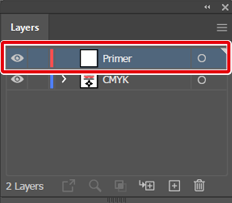
In the Layers window, select the "Primer" layer.
- Click .
-
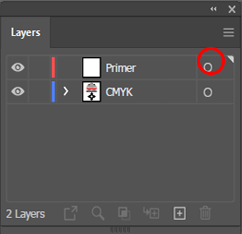
In the Layers window, select the "Primer" layer data.
-
Select "Fill" in the tools panel.
You may also have to select "Stroke" depending on the location where primer is printed.

-
Click .
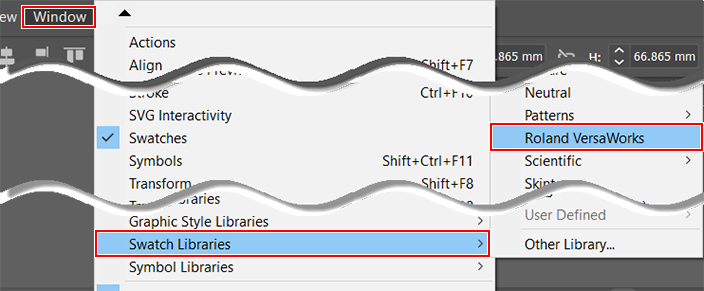
The Roland VersaWorks window appears.
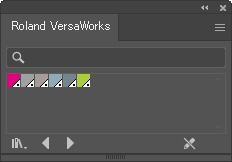
-
Click RDG_PRIMER in the Roland VersaWorks window.
Primer is specified for "Fill" of the illustration.
-
Click .
The artboard is resized to match the object.
-
Click File - Save As.
Use the displayed panel to specify where to save the file.
Example: Destination folder: PC desktop
- Specify the File name.
-
Select Adobe PDF (*.PDF) for Save as type, and then click Save.
An artboard-size PDF is saved.
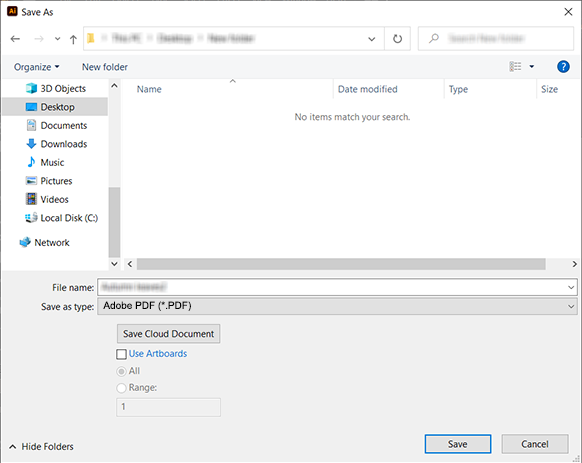
MEMO Selecting *.EPS or *.PS for Save as type still saves the printing data in a format that can be queued in VersaWorks.