
Creating a Print Layout and Positioning the Jigs
Set the position of the fixing jig that is installed on the output device, and preset the print data output position.
Measure the position of the fixing jig that is installed on the output device table, and input it into print layout.
Even when a fixing jig with the same dimensions is used, the position will be different when installed on a different output device. For this reason, it is necessary to set the print layout separately for each output device.
It is also possible that the position of the fixing jig may change when it is removed and reinstalled for cleaning or other reason. In this case, set the print layout again.
When a new print layout was created or the print layout was changed, perform test printing and check that printing is made in the correct position. If the print position is wrong in the results of test printing, adjust the jig position in the print layout and perform printing again. In this way, repeatedly set the position and perform printing to adjust the output position.
- Start the Web browser and access the following URL.
-
Log in to PAM-Web.
Log in using a PAM account and password, not Roland DG Connect.
- Enter the URL to access in Your environment name.
- Enter the user account name in User name.
- Enter the password in Password.
- Click Log in.
-
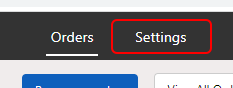
Click Settings.
-
Click Print Layouts.
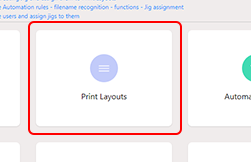 The Print Layouts display appears.
 -
Click New Print Layout.
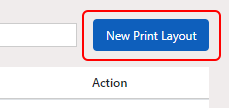 The Add New Print Layout display appears.
 -
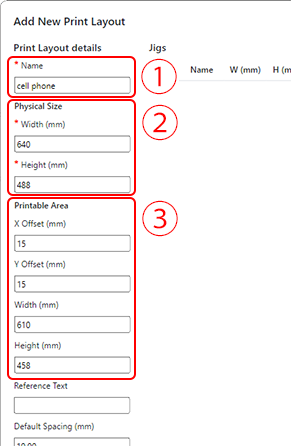
Enter the table size and printable area for the device where the fixing jig is installed.
-
Position the jig in the print layout.
For cases when multiple fixing jigs are installed on a table, it is possible to position multiple jigs in the print layout.
However, it is not possible to position multiple jigs with different Location or Printer Type in the same print layout. It is also not possible to combine jigs with different thicknesses.
- Click + Add Jig.
- Click Name and select the jig to position.
- Enter the distance from the lower right point of the table to the lower right point of the jig in X and Y.

- Check the settings, and click Save.