Carrying Out Preparations on the Printer to Attach the Rotary Axis Unit
Procedure
-
Switch on the printer's main power.
-
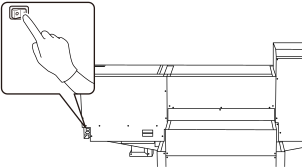
Press the sub power button.
-
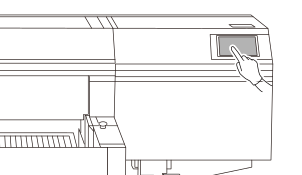
Tap
 on the operation panel's home screen.
- Tap in sequence.
-
Tap Execute next to Move Table to Attachment/Removal Position.
The flat table moves to a position where the rotary axis unit can be attached.
-
When Remove devices as necessary. is displayed on the operation panel, tap
 .
.
- Clean the surface of the flat table with a rag.
-
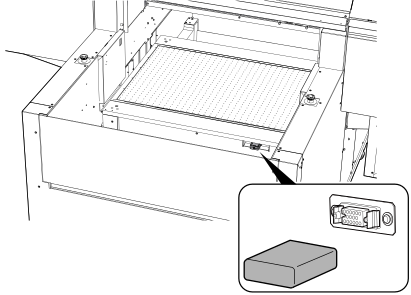
Remove the cover from the flat table connector.
IMPORTANT Store the cover carefully so that you do not lose it. If you are not using the connector, be sure to attach the cover to prevent dust and debris from adhering to the connector.