
Adjusting the Distance between the Object to Be Printed on and the Print Heads
If the height (thickness) of the object to be printed on varies or if the object to be printed on is lifted or warped during printing, the object to be printed on might come into contact with the print heads. You can expand the distance between the object to be printed on and the print heads in the Table Lowering Amount setting to prevent issues like this from happening.
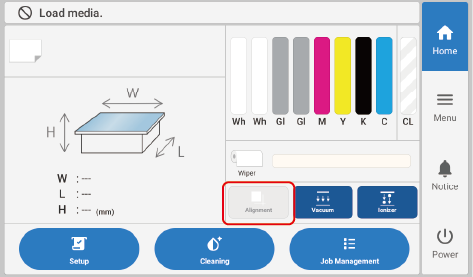
If the height of the object to be printed on is 4.0 mm (0.15 in.) or less, switch off Alignment and lower the positioning pins. If the positioning pins are higher than the object to be printed on, the height is set with the positioning pins, not the object to be printed on, used as the reference.
If the object to be printed on presses firmly against the positioning pins, they may not lower even if Alignment is switched off. In this case, lower the positioning pins by pressing them with your fingers.
- If the distance is expanded too much, the print quality may be deteriorated and the nozzles of the print heads may be clogged. Configure the settings so that the distance between the highest position of the object to be printed on and the lowest position of the print surface is 2 mm (78.7 mil) or less.
- This setting is enabled when the height of the object to be printed on is set automatically.
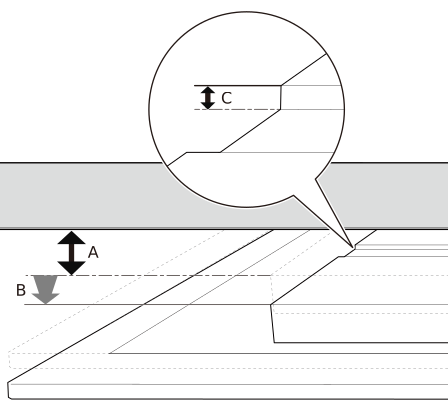
| A | Height from print heads to highest position on the object to be printed on when Table Lowering Amount is not set |
| B | Table Lowering Amount |
| C | 2 mm (78.7 mil) or less |
-
Set up the object to be printed on.
Refer to Steps 1 through 6 of Determining the Print Surface Height and Printing Position to perform Select of Preset.
-
Tap Change next to Table Height.
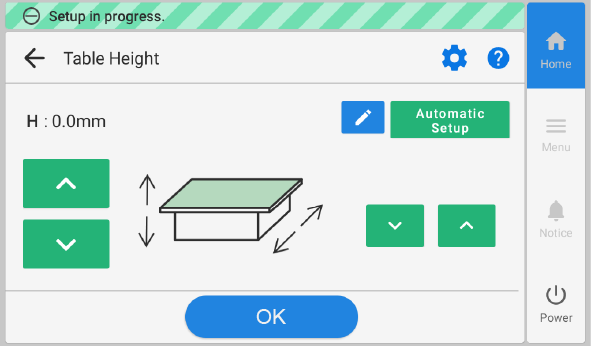
The Table Height screen appears.
-
Tap
 .
The Table Lowering Amount screen appears.
.
The Table Lowering Amount screen appears. -
Set the distance between the object to be printed on and the print heads.
Tap
 and
and  to adjust the distance.
You can adjust the distance in increments of 0.1 mm (3.9 mil).
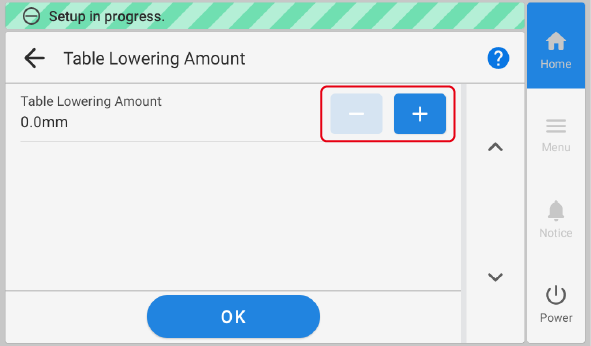
Table Lowering Amount Distance between the object to be printed on and the print heads 0.0 mm 1.0 mm (39.37 mil) : : 2.0 mm (0.08 in.) 3.0 mm (0.12 in.) - Tap OK.
-
Configure the Table Height and the Print Origin and Printing Area settings.
Refer to steps 8 through 15 of Determining the Print Surface Height and Printing Position to configure the settings.
- Close the front cover if it is open.
-
Tap Complete Setup.
MEMO
Tap Save Settings to return to the setup item selection screen to change the settings as necessary.
MEMO-
Default setting: 0.0 mm
-