
Setting the Height of the Object to Be Printed On Manually
This section explains how to manually set the height of the object to be printed on. This is suited to the case when you do not want the head gap sensor to come in contact with the object to be printed on and the case when you want to set the distance between the print heads and the object to be printed on. The manual setting takes a little longer than the automatic setting because you need to visually set the height. If the print surface is uneven, there is a limit to the area of unevenness.
- Load the object to be printed on.
-
Tap
 .
.
- Tap Select under Preset, and then select the preset for which you would like to change the settings.
- Tap Next.
- Tap Change next to Table Height.
-
Move the object to be printed on so that it is under the head gap sensor.
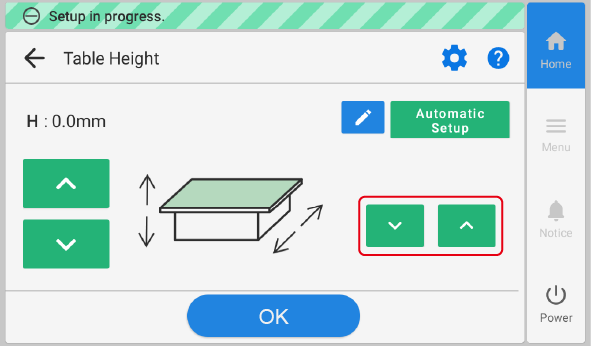
Long tap or tap

 lined up on the right side of the screen to move the flat table forward or backward.
 MEMO
MEMOYou can also tap
 and then enter a value to set the height.
 -
Adjust the height of the object to be printed on.
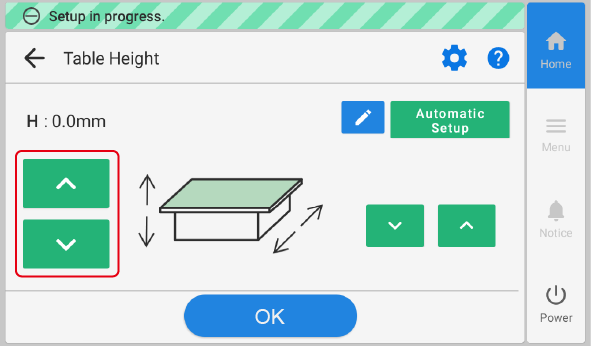
Long tap or tap
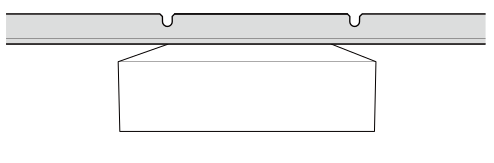
lined up vertically on the left side of the screen to adjust the height of the object to be printed on. Move the head gap sensor as close as possible to the print surface.IMPORTANTSet the height of the flat table in a way that the highest position of the print surface will not come into contact with the head gap sensor. Note that print quality will deteriorate as the distance between the head gap sensor and print surface widens.
- Once the position has been decided, tap OK.
- Tap Complete Setup.