2. Set Perforated Cutting Conditions
-
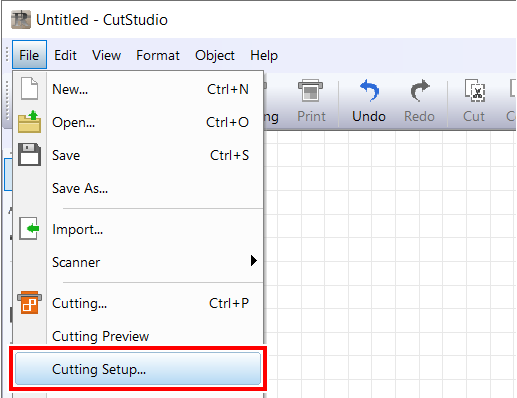
Click .
The Cutting Setup window is displayed.
-
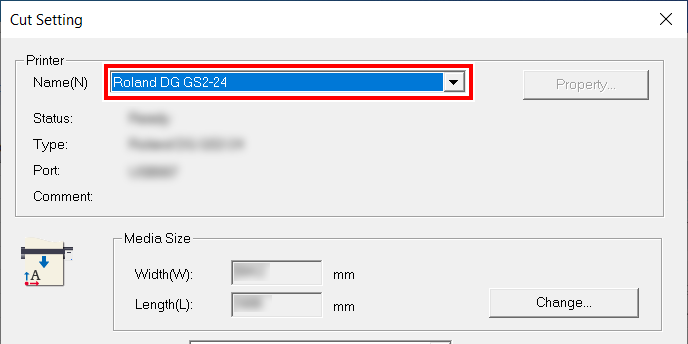
At Name, underPrinter, select Roland DG GS2-24.
The model name is set.
-
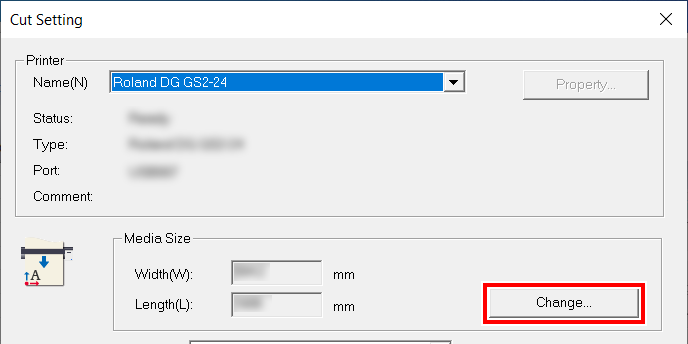
Click Change under Media Size.
-
Click Get from Machine.
Acquire the cuttable area from the connected machine, and update Width and Length under Cutting Area.
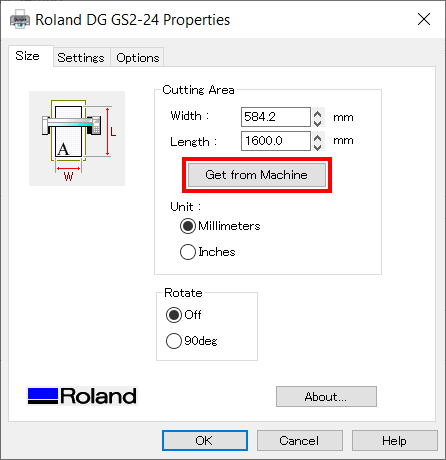 MEMO
MEMOIf The machine is not responding. is displayed, check the settings on this machine and the computer.
-
Click OK.
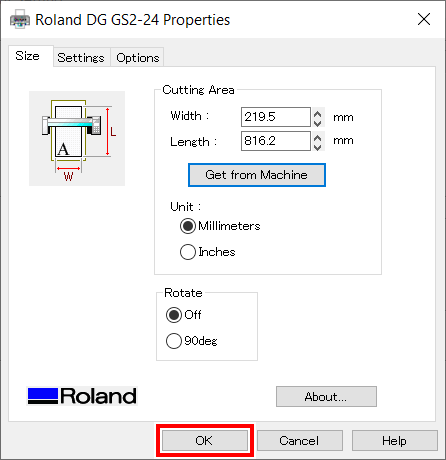
The setting is saved, and the Cutting Setup window will appear.
-
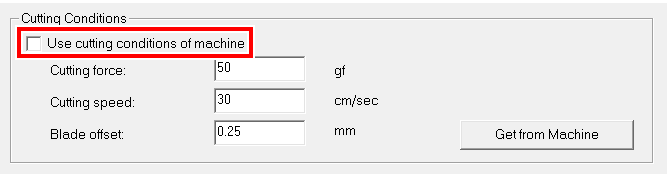
Set the cutting conditions.
Normally, the Use cutting conditions of machine check box is selected.
To change the cutting condition, unselect the Use cutting conditions of machine check box, and enter values.
-
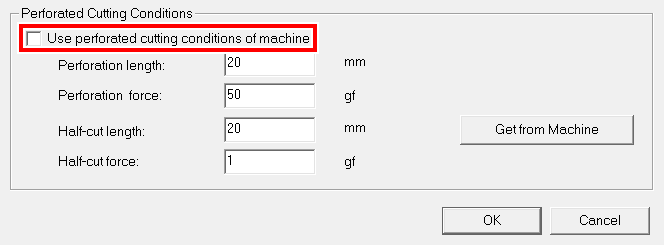
Unselect the Use perforated cutting conditions of machine check box.
This allows values to be entered to Perforated Cutting.
-
SetPerforation length, Perforation Force, Half-cut length, and Half-cut Force under Perforated Cutting.

- : Perforation length
- Length of the part cut out from the material
- : Half-cut Length
- Length of the part not cut out from the material with suppressed blade force
Adjust the perforation force or the half-cut force according to the type of material.
Perforation length > Half-cut length Perforation length = Half-cut length Perforation length < Half-cut length 


Perforation length: 20 mm (0.8 in.) Perforation length: 20 mm (0.8 in.) Perforation length: 1 mm (0.04 in.) Half-cut Length: 1 mm (0.04 in.) Half-cut Length: 20 mm (0.8 in.) Half-cut Length: 20 mm (0.8 in.) - : Perforation length
-
Click OK.
The cutting range and conditions are saved.
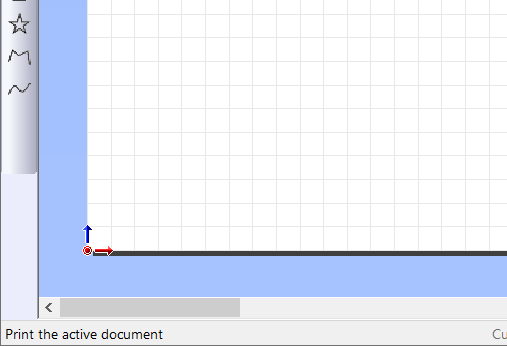
MEMOThe area displayed in white on CutStudio is the cutting range. Characters and shapes outside this area will not be cut.