
1. Create Perforated Cut Data
Load material to the machine beforehand, and finish preparing the cut output.
Setting Up MaterialPreparations for Cutting OutputProcedure
- Start Designer.
- From the dashboard, click New Design.
- Click Visual Communication Design.
- Specify the design setting, and then click Create.
Create a new design by changing the design name, setting the size, and configuring initial settings such as vertical or horizontal orientation.
You can also change the settings later from the design window.
- On the design toolbar, click
 Path to draw the shape.In this example, you will create the design shown in the figure below.
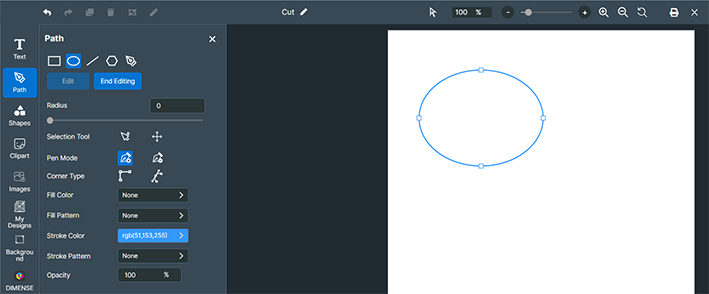
- Click Stroke Color, and then select the gray icon (PerfCutContour) under Roland Contour Colors.The drawn circle (A) becomes a gray dotted line to use as a perforated cut.

- Click Save Design.