
Cleaning the UV-LED Device
Clean the irradiation surfaces of the UV-LED device when it becomes dirty due to ink and dust.
If the irradiation surfaces are blocked with adhering dirt or ink, ink will not be appropriately hardened, resulting in uneven printing.
Perform cleaning of the UV-LED device only after it has cooled completely.
Failure to wait until the LED UV device cools completely may cause burns.
Be sure to put on protective gloves and UV protective eyewear before performing this work.
Ink may drop or scatter.
- The print-head carriage needs to be moved during cleaning. Do not place anything on the table.
- If the glass on the irradiation surface is damaged, the parts need to be replaced. If dirt cannot be removed or adhering ink is hardened, contact your authorized dealer.
Check that the print-head carriage has returned to the maintenance station. If the machine detects an intrusion into the movable range of the print-head carriage while the carriage is not in the maintenance station, the safety protection function is activated to stop the machine.Safety Protection Function
-
Place the container under the maintenance station.

-
Slowly insert the ink receiver all the way.

-
Click Z Axis on the Print Exp toolbar.
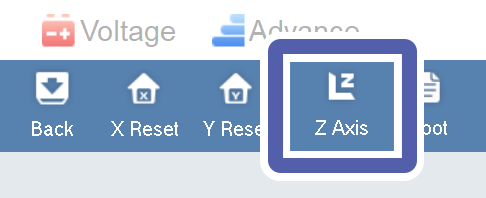
-
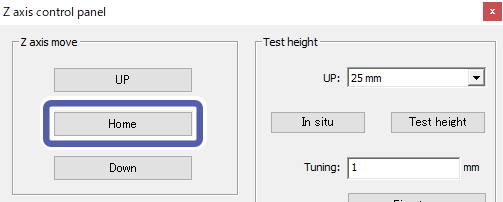
Click UP.
Raise the print-head carriage to a height where cleaning of the UV-LED device is possible.

-
Clean the irradiation surfaces of the UV-LED device with a new non-woven fabric impregnated with cleaning alcohol.
IMPORTANT
- Wipe alcohol off completely from the irradiation surfaces.
- Do not use force to tear off hardened ink adhering to the irradiation surfaces. If adhering ink cannot be removed, contact your authorized dealer.

-
Click Home.
The print-head carriage will return to its previous position before it was raised.
-
Slowly pull the ink receiver back toward you.
