
Automatic correction
-
Close the front cover if it is open.
Gently pull up on the front cover and then lower it until a click is heard.

-
Switch on the machine's power switch.
The machine starts the initial operations. When the status light stops flashing and remains steadily lit, the initial operations are complete.
 IMPORTANT Do not open the covers during the initial operations.
 - Show VPanel.
-
Click
 .
.
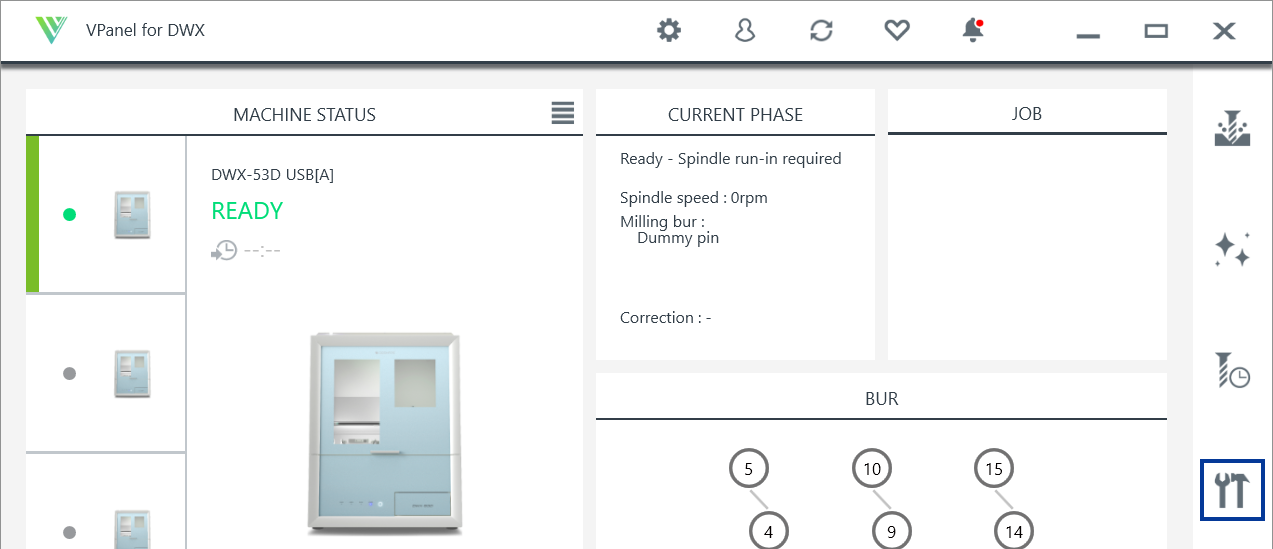
The Machine settings - DWX-53D window will appear.
-
On the Maintenance tab, click Automatic correction.
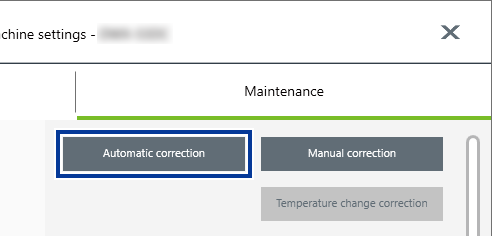
The Automatic correction - DWX-53D window is displayed.
-
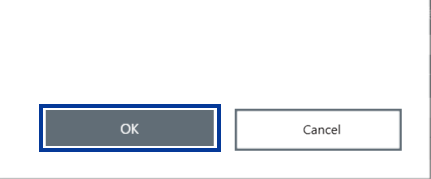
Follow the on-screen instructions to perform automatic correction.
After cleaning the machine, attach the detection pin and automatic correction jig and perform automatic correction.
Perform cleaning and installing parts according to the following procedures.
1. Install the detection pin.
-
Open the front cover.
Pull until a click is heard.

- Clean off any milling waste from the rotary axis unit and ATC magazine.
-
Use the included cloth for care to wipe the clamp () and the area around the milling bur sensor () clean.
If any dirt is present in these locations, it may not be possible to perform the correction properly.IMPORTANT Also wipe the bottom of the clamp () clean.

-
Wipe the detection pin () and the top () and bottom () of the automatic correction jig clean.
Clean the gray parts in the following figure. If any dirt is present in these locations, it may not be possible to perform the correction properly.
IMPORTANT Also wipe the shaft of the automatic correction jig clean.
-
Load the detection pin in the ATC magazine's number 15 position.
MEMO
Insert the detection pin firmly into the ATC magazine.
If the pin is loaded in the wrong position or is tilted, an error or malfunction may occur, which could damage the machine.

2. Attach the automatic correction jig.
-
With its adapter ID facing you, insert the automatic correction jig into the clamp.
Gently push in the automatic correction jig all the way along the groove in the clamp.
Inserting it with too much force will make the automatic correction jig strike the inside of the machine, possibly leading to injury and jig damage.

-
Secure the automatic correction jig.
As shown in the figure, close the fixing knobs (in two locations) in the directions of the arrows while pressing in on the automatic correction jig to secure the automatic correction jig.

- Lightly tug on the automatic correction jig to check that it does not come loose.
-
Close the front cover.
Gently pull up on the front cover and then lower it until a click is heard.
3. Perform automatic correction.
Automatic correction will start.
The automatic correction is finished when the operation complete message is displayed.
4. Remove the detection pin and the automatic correction jig.
Do not pull the adapter with excessive force when removing it.
Doing so may result in injury arising from your hand or arm hitting something.
-
Open the front cover.
Pull until a click is heard.
-
Remove the detection pin from the tool stocker.

-
Remove the automatic correction jig.
-
Open the fixing knobs (in two locations) in the directions of the arrows to release the locks.

-
Pull the automatic correction jig out slowly.
Pull the jig out slowly. Exercise caution to avoid striking the inside of the machine with your hands or other body parts when pulling out this part.

-
Open the fixing knobs (in two locations) in the directions of the arrows to release the locks.
-
Store the automatic correction jig and detection pin.
Set the automatic correction jig in the adapter rack, and store the detection pin in the bottom storage.
