
Retightening the Collet
Continuous milling will cause the collet to become loose, making it easy for the milling bur to come off. Periodically retighten the collet.
Recommended Interval for This Work
- Once a month, or when the total work time of the spindle exceeds 200 hours (with slight variation depending on the work situation).
 |
 |
| Torque screwdriver (0.3 N·m) | Collet attaching/detaching jig |
Do not loosen screws with a torque screwdriver with the sleeve () attached.

Before tightening a screw that has a specified tightening torque, be sure to attach a sleeve. Check the marking on the sleeve () and use a sleeve that matches the tightening torque value.

-
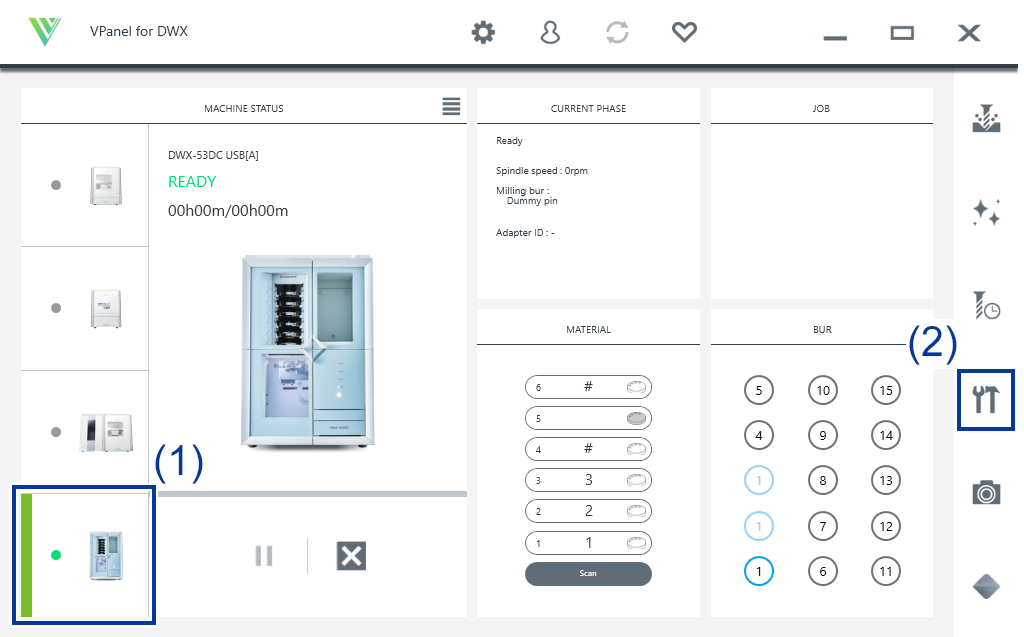
Open the Machine settings window.
-
Click
 .
.
The Machine settings window is displayed.
-
Click
-
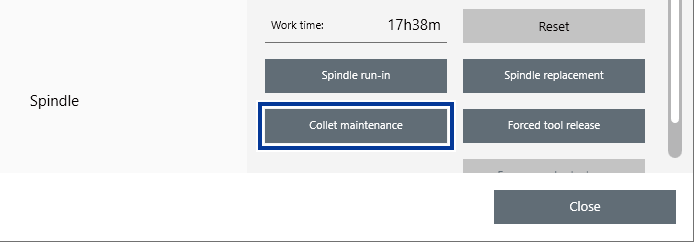
On the Maintenance tab, click Collet maintenance.
-
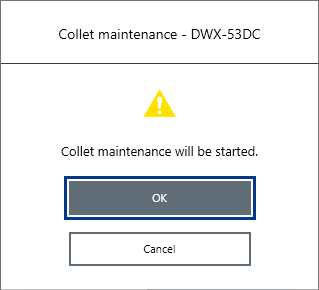
When the window in the following figure is displayed, click OK.
The spindle unit will move to the milling area.
-
Open the milling area cover.

-
Remove the dust-proof cover.

-
Remove the torque screwdriver's bit, and then attach the 0.3 N·m sleeve.
IMPORTANT
Be sure to use the 0.3 N·m torque screwdriver sleeve. Failing to do so may lead to a loose collet during milling, which will affect the milling quality and damage the collet.

-
Attach the collet attaching/detaching jig onto the torque screwdriver with the sleeve attached.

-
Use a torque screwdriver with the sleeve attached to retighten the collet.
Align the collet with the groove in the collet attaching/detaching jig. Tighten the screws until turning the handle of the torque screwdriver no longer turns the screw bit.

-
Attach the dust-proof cover to the milling area.
MEMO
Attach the dust-proof cover so the handle is in the upper-right corner. Check that the magnets on the edge of the cover attach to the mounting frame.

-
Close the milling area cover.
The retightening of the collet is complete when the spindle unit moves to its original position and The operation is complete. is displayed.