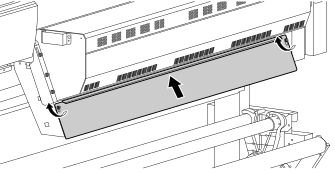
IMPORTANTAlways have two people to hold and install the dryer.
Procedure
Open the front cover.
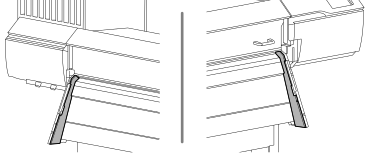
If the insulating material for the arm has fallen to the inside, make it face the outside.
If the insulating material is folded and keeps falling to the inside, affix it to the arm with commercially available double-sided tape or switch the left and right insulating material.
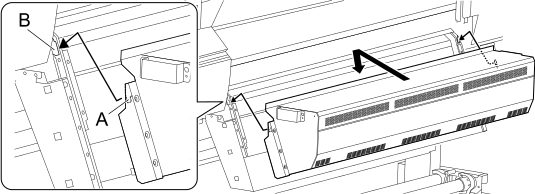
With two people, hold the right and left handles of the dryer and install the dryer into the machine.
Catch the hooks (A) of the dryer on the locations on the machine indicated with (B) in the figure.
When you install the dryer, exercise caution to avoid folding the insulating material of the arm into the inside.
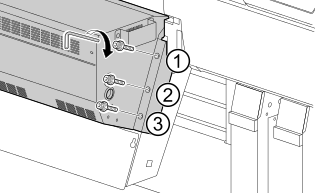
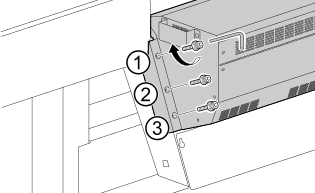
Adjust the horizontal position of the dryer to align the bolt attachment holes and temporarily tighten the six bolts.
MEMOIf the dryer holes and the arm B holes do not match, adjust the position of arm B.
If the arm B screw holes are inside the dryer: Loosen the extension apron fixing bolts, and tighten the bolts again while pulling arm B toward the outside.
If the arm B screw holes are outside the dryer: Loosen the extension apron fixing bolts, and tighten the bolts again while pushing arm B toward the inside.
Fully tighten the three bolts on the right side as seen from the front of the printer.
Fully tighten the three bolts on the left side as seen from the front of the printer.
Fully tighten the extension cover bolts while pushing the extension cover against the dryer.