
Step 7: Performing a Printing Test
MEMO When performing printing tests successively, you can select Feed (vertical printing) or Scan (horizontal printing) as the printing position for the second and later tests in comparison to the first test.
Procedure
-
Tap .
Printing of the test pattern starts.
-
Check whether there is dot drop-out or dot displacement in the test pattern.
Missing blocks indicate dot drop-out. Collapsed or inclined blocks indicate dot displacement.

-
If you have opened the front cover, close it.
If dot drop-out or dot displacement is present in the printing test, follow the procedure below to perform normal cleaning.If there is no dot drop-out or dot displacement, proceed to Step 4.
-
Tap .
The screen shown below appears.
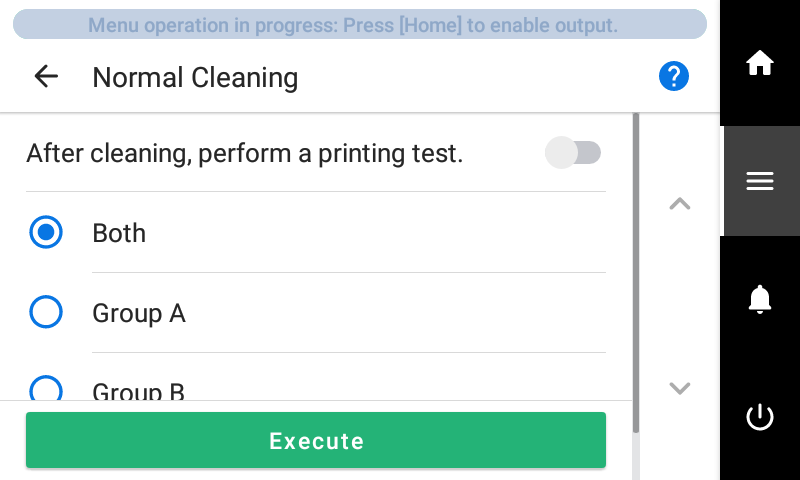
MEMO If the media has already been set up, the After cleaning, perform a printing test. menu appears on the Normal Cleaning screen. When this setting is turned on, a printing test is performed after cleaning. -
Check for the group with dot drop-out or dot displacement by viewing the results of the printing test.
The space from "A" to "B" is group A. The space from "B" to the right side is group B.
IMPORTANT If the printing-test results are difficult to interpretCheck the results in a bright location, changing your line of vision. They are visible using the reflection of the light.
-
Tap
 twice.
-
Tap .
- Tap Next.