
Adjusting the Tone Curve
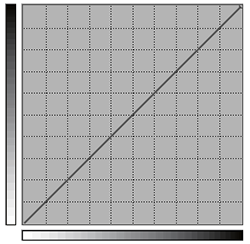
Use the tone curve to fine-tune the tone and color of the image. The tone curve consists of a horizontal axis (input value, before adjustment) and a vertical axis (output value, after adjustment).
Generally, you only need to make minor adjustments to the tone curve when adjusting the tone and colors of an image. Note that adjustments to the image tone and color by way of the tone curve work in addition to the adjustments made with Level Adjustment and enable more subtle adjustments.
-
Perform the operation shown below according to what is being set.
- Job
- Double-click the job to set.
- Right-click on the job to set, then click .
- With a job selected, click
 on the left side of the job tool area, and then click
  Job Settings.
The Job Settings window appears.
- Queue folder: Click for the queue folder.
The Queue Properties appears.
- Job
-
Click
 Color$Management.
-
Click
 next to Tone Curves under Level Adjustment.
The Tone Curves setting window appears.
next to Tone Curves under Level Adjustment.
The Tone Curves setting window appears. -
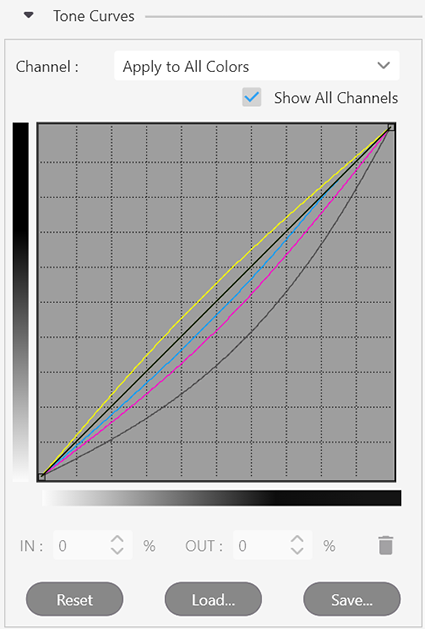
Under Channel, select the color whose tone will be fine-tuned.
When Apply to All Colors is selected, all colors can be adjusted at the same time.
-
Edit the tone curve.
- Drag the control point:
Move the pointer to the control point, and then drag to move it.
- Click the control point, and then enter the value in IN or OUT:
The adjusted result is applied immediately to the layout area preview display.
MEMO- If you have already adjusted the levels with Level Adjustment, selecting the Show All Channels checkbox displays under Tone Curves the curves of the colors that have undergone Level Adjustment.
- When there are multiple control points, control points other than the one being dragged are fixed in place. This makes it possible to select and adjust just a specific tone area.
- To initialize the tone curve, click Reset.
- Drag the control point:
-
Click OK.
- Any changes made in Job Settings will be applied, and you will be returned to the main window.
- When changes are made in Queue Properties:
- When a message for saving the printing settings appears, click OK.
-
To apply the changes to a job already in the queue folder, right-click on the job and click . The changes are reflected in the layout area of the main window.