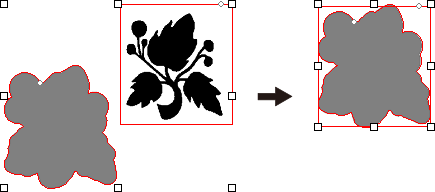
Creating Cutting Lines around Images
-
Click
 .
.
-
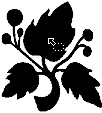
Click a black part of the image.
The path is created according to the contour of the black part of the image.
-
Click
 , and then drag the image to move it.
Put the image aside for a moment to make the path easier to edit.
-
Delete any unnecessary paths.
In this example, there are no unnecessary paths to delete, so there is no need to do so.
-
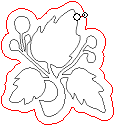
Create the cutting path around the outside of the image.
Select the path around the perimeter of the image, and then click
 .
.
-
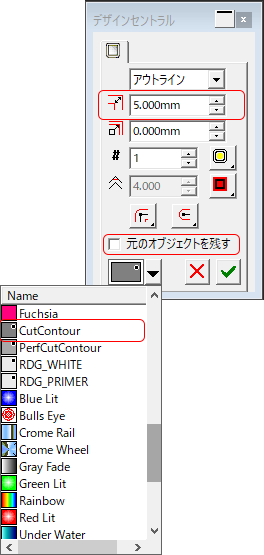
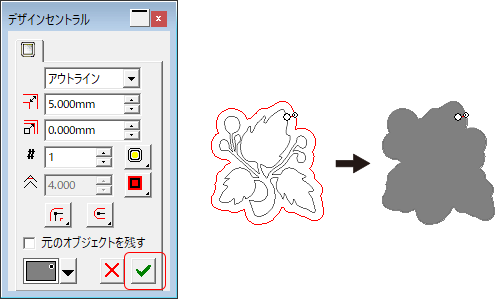
Set the outline in the DesignCentral dialog box.
Set the space between the original path of the outline and the contour cutting path. Here, set this value to 5 mm (0.2 in.).
The original path is not necessary, so clear the Keep original check box.
To change the path into a cutting line, set the line color to CutContour.
-
Click Apply.
If you perform another operation without clicking Apply, the path generation will be canceled, so be sure to click Apply.
-
Align the image and the cutting line.
Select the image and the cutting line, and then click .
The center points of the two objects are matched, aligning these objects.
* The image is hidden beneath the cutting line.