
Step 1: Set the Imprint Area
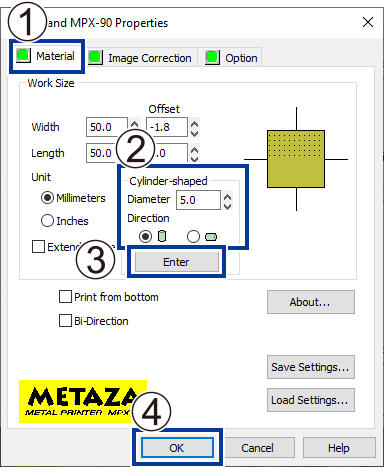
The imprint area is determined by the value of the material's diameter entered in the setting window for the driver.
For more information about the conditions of cylindrical material that this machine can imprint, refer to "Conditions for Material When Imprinting Curved Surfaces" at the following cross-reference.Materials That the Machine Can Imprint On
Procedure
-
Click .
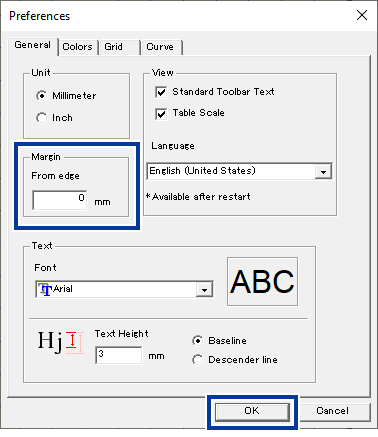
The Preferences window appears.

-
Specify zero millimeters for Margin, and then click OK.
When you're imprinting on cylindrical material, set the margins to zero millimeters. Compared to flat material, when imprinting on cylindrical material, the imprint area is limited, and so a sufficient imprint area must be ensured by making the margins zero millimeters in size.
- Click OK.
-
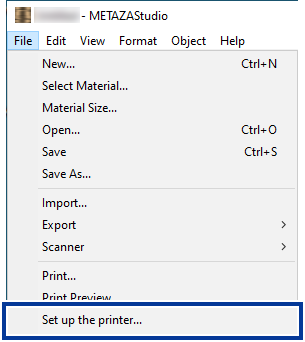
Click .
The Set up the printer window appears.
-
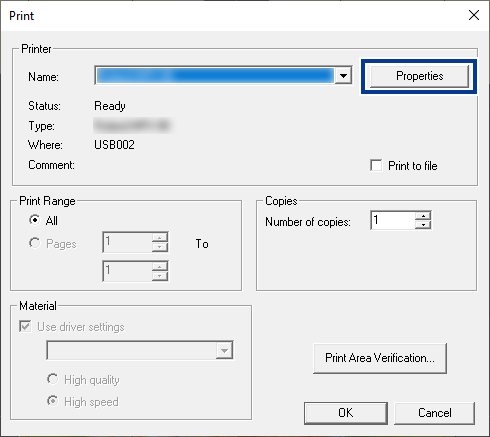
Check that Roland MPX-90 is selected for Name, and then click Properties.
-
Set the imprint area.
-
Click OK in the Set up the printer dialog box.
This concludes the configuration of the imprint area settings.