
3. Checking the Adjustment Results
Procedure
- Tap Execute next to Output Start Location.
- Tap
 ,
,  ,
,  or
or  to move the center of the blade to the position that you want to set as the base point.Tap or to move the media. Tap or to move the cutting carriage.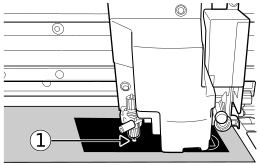
- : Base point (right edge of the output area)
- Once the position has been decided, tap Set Base Point Here to confirm it.
- Close the front cover.
- Tap Execute next to Cutting Test.
The test pattern is cut.
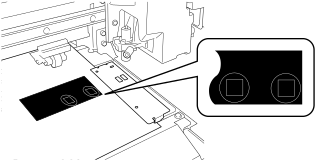
- Open the front cover.
- Check the results of the cutting test again.
- When you have finished making adjustments, tap
 .The display returns to the original screen.