
Loading the Object to Be Printed on by Pressing It Against the Positioning Pins
-
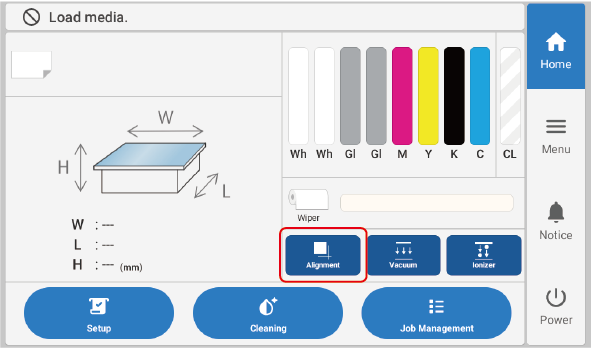
Tap
 on the home screen.When this is selected, the button is displayed as enabled, as shown in the figure below.
 The positioning pins emerge from the flat table.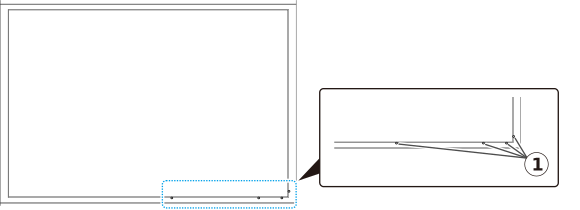
-
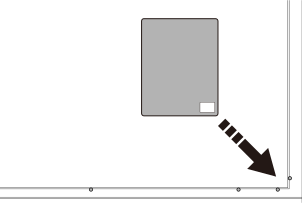
Load the object to be printed on by pressing it against the positioning pins.
 IMPORTANT If the height of the object to be printed on is 4.0 mm (0.15 in.) or less, be sure to switch off Alignment and lower the positioning pins before performing the following work. If the object to be printed on presses firmly against the positioning pins, they may not lower even if Alignment is switched off. In this case, lower the positioning pins by pressing them with your fingers.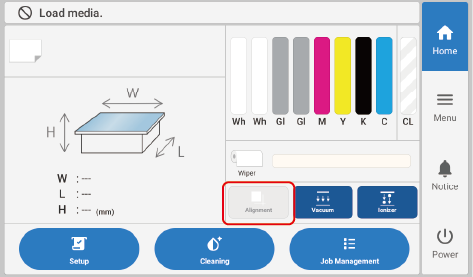
-
When setting the height of the object to be printed on
If the positioning pins are higher than the object to be printed on, the height is set with the positioning pins, not the object to be printed on, used as the reference.
-
Before printing
The print heads may come into contact with the positioning pins and be damaged.
-
Characteristics of This Loading Method
- This method is used when any one of the sides of the object is a straight line.
If any one of the sides is straight, you can load the object by pressing that side against the positioning pins.
This method is not suitable for objects with exclusively circular, elliptical, or curvilinear outlines.
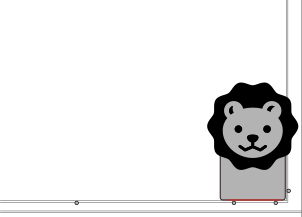
- This method is used when printing objects one by one.
This method is not suitable for printing multiple objects side by side at once.
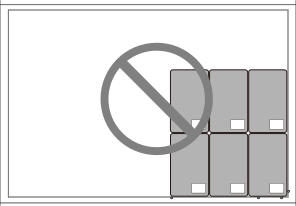
If the objects to be printed on are square or rectangular of the same size, it looks possible to print several of them by placing them with no gaps.
However, when placing multiple objects to be printed on, it becomes difficult to place the sides in correct contact with the positioning pins. Because this may cause deviation in the printing position or angle, doing so is not recommended.