Step 2: Set the Tiled Output Conditions
Load material to the machine beforehand, and finish preparing the cut output.
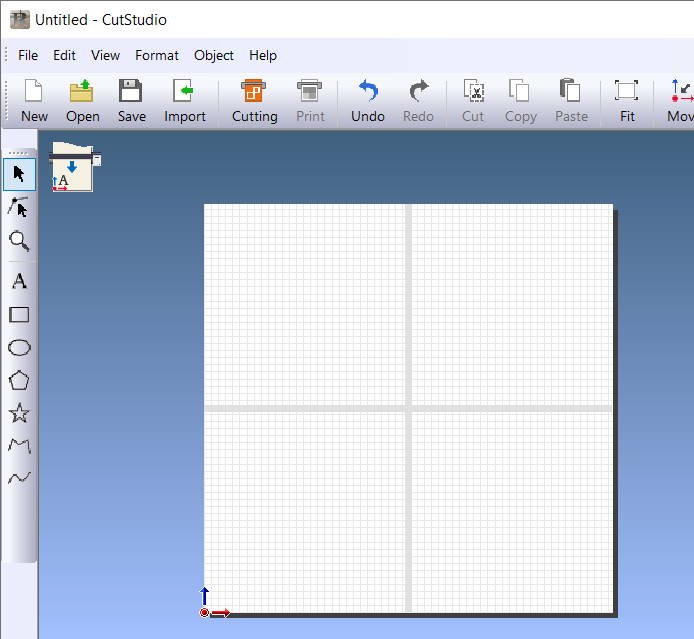
Setting Up MaterialPreparations for Cutting OutputProcedure
- Start CutStudio.
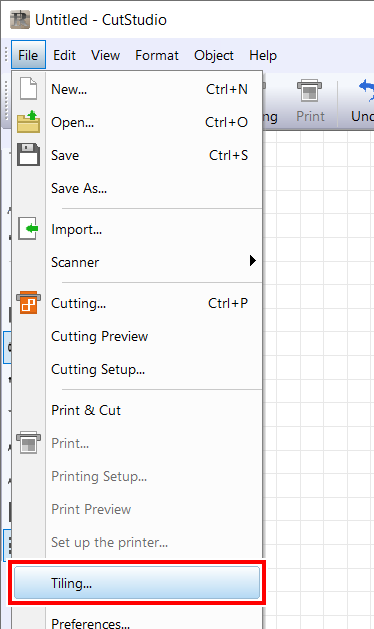
-
Click .
The Tiling window is displayed.
-
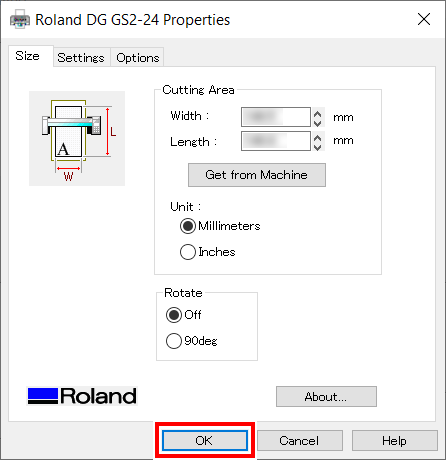
Click Change Size.
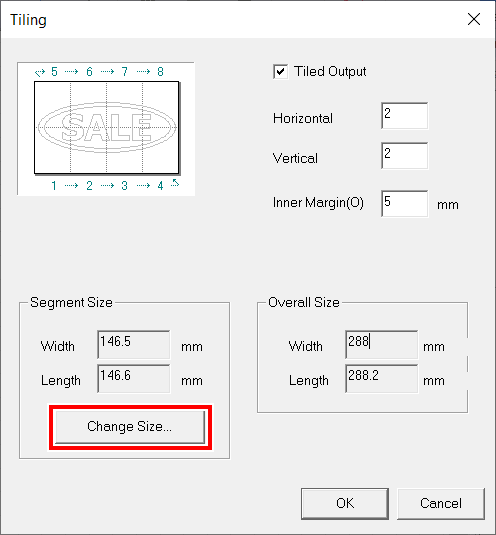
-
Click Get from Machine.
The cuttable range is acquired from the connected machine, and values are automatically entered.
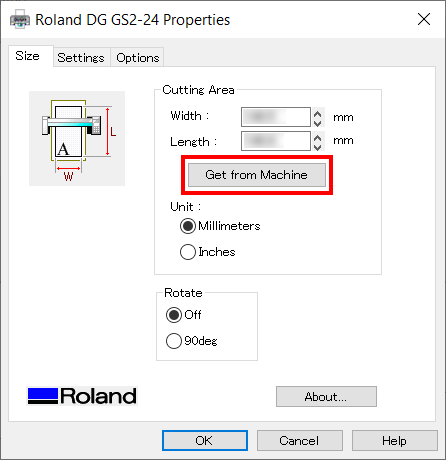
-
After the values are entered automatically, click OK.
The segment size is updated.
-
Select the Tiled Output check box, and then enter the number of tiles.
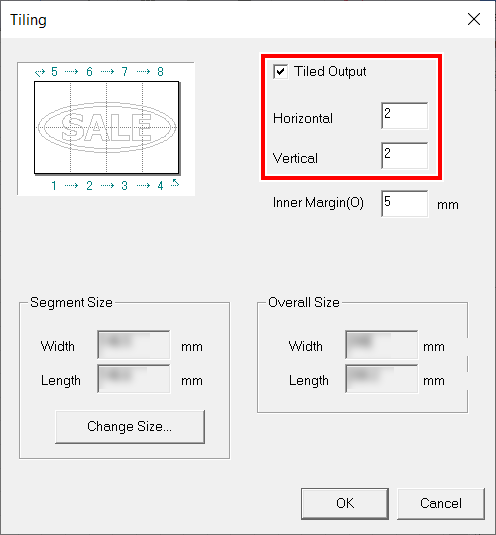
-
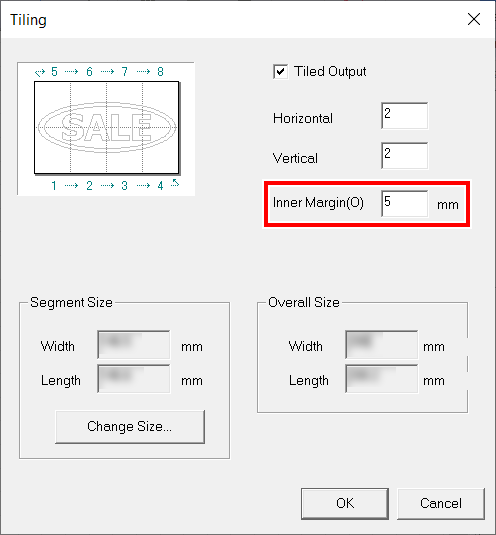
Set the inner margins.
If Inner Margin is entered, Overall Size is automatically updated. Make sure that Overall Size is larger than the output size.
-
Click OK.
The document is displayed. The edges of the segments are displayed even if an inner margin has not been set.