
1. Create Perforated Cut Data
Load material to the machine beforehand, and finish preparing the cut output.
Setting Up MaterialPreparations for Cutting OutputProcedure
- Start CutStudio.
-
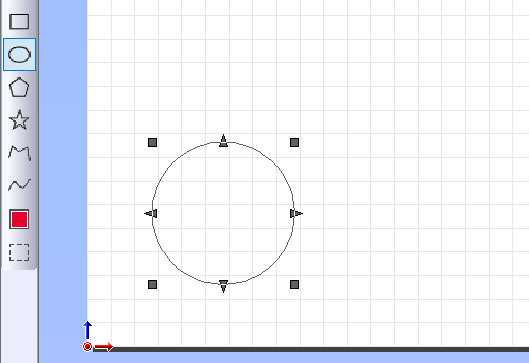
Create a Shape.
In this example, you will create the design shown in the figure below.
-
Click
 .
.
Perforated cutting is set, and the object is displayed in red.
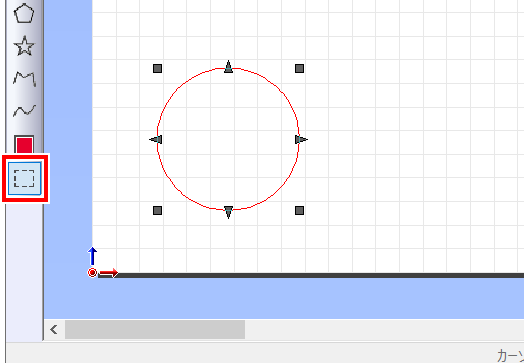 MEMO Click to display the Preference window. This lets you set the color and display of perforated lines.MEMO To cancel the perforated line setting, use
 to select the shape for which you want to cancel perforated cutting, and then click . Once the perforated line setting is canceled, the cutting line color returns to black.