
Step 1: Set the Printing Conditions
Set the printing range for Print & Cut as well as the crop marks.
Procedure
-
Start Adobe Illustrator, and then open a new document.
Set the artboard.
-
Click .
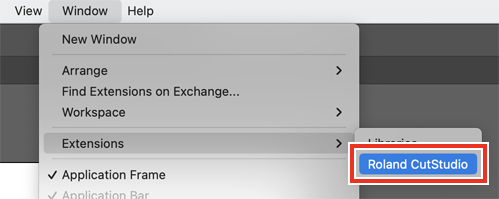
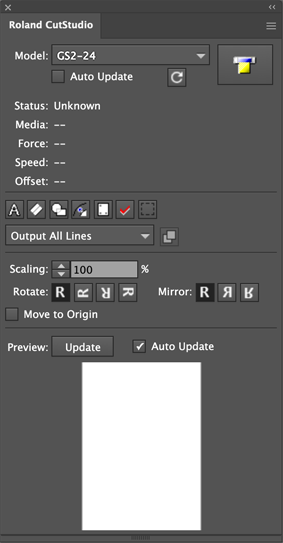
The Roland CutStudio palette appears.
-
On the palette, click
 .
Crop marks are inserted in the artboard.
.
Crop marks are inserted in the artboard. -
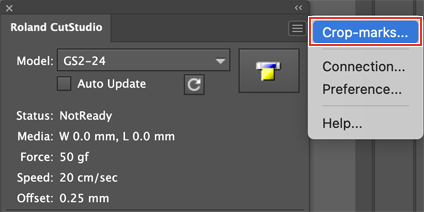
Click
 on the palette, and then click Crop-marks.
-
Set the Type, Point.
For Type, select "GS2-24."
Point indicates the number of crop marks.
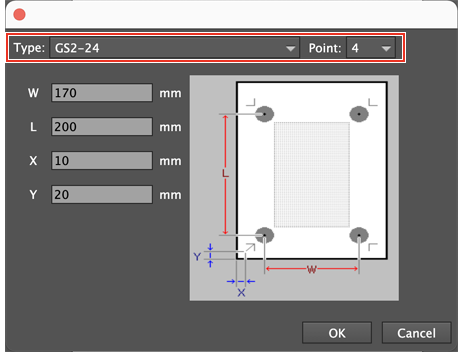
When Point is "4" Crop marks: 4 points When Point is "3" Crop marks: 3 points Normally, select "4" in Point. When Point is "3," Tool Mode is unavailable.
-
Set the margin and the distance between crop marks, and then click OK.
For details regarding margins and distance between crop marks, see the table below. When using material with a large amount of feed (long material), we recommend that you set the left and right margins to approximately 25 mm (0.98 in.).
Margins and Distances between Crop Marks on Different Material Sizes with 4 Crop Marks (Unit: mm (inches)) A4 A3 B4 Y X Y X Y X W 170 230 230 370 205 315 L 200 110 (4.33 in.) 320 195 265 160 X 10 30 30 15 15 15 Y 20 20 20 20 20 20 Margins and Distances between Crop Marks on Different Material Sizes with 3 Crop Marks (Unit: mm (inches)) A4 A3 B4 Y X Y X Y X W 170 240 240 380 (14.96 in.) 215 325 L 210 120 330 205 275 170 X 15 30 30 15 15 15 Y 20 20 20 20 20 20 MEMO If you are using material that is larger than the sizes listed above, set values by referring to Margins and the Distance between Crop Marks.Crop marks are displayed on the artboard.