
Setup of Sheet Media
Load the sheet media on the printer. When the loading is finished, Output possible. is displayed as the status. This work is referred to as "Setup of Media."
1. 1. A: Determine the positions of the media (opaque media).
This section describes how to use the suction fan to prevent media skewing.
By default, Skewing Correction Support at Setup is set to Enable.
- Tap
 on the operation panel.The sub power is switched on.
 - Set the Skewing Correction Support at Setup.
- Tap
 .
. - Select Enable and tap Save.
- Tap
 to go back to the original screen.
- Tap
- Open the front cover.
- Move the media clamps to the outside of the grit rollers on the left and right edges respectively.

- (Move to the rear of the printer.) Release the locking mechanisms of the media holders, and then draw them to the left and right ends respectively.

- From the rear of the printer, pass the leading edge of the media between the pinch rollers (A) and the grit rollers (B).IMPORTANT If the leading edge of the media is bent, cut the bent part before loading the media, as it may be difficult for the media to enter the dryer entrance.
You will hear a beep. Approximately 5 seconds later, you will hear two beeps, and then the suction fan will activate. While this fan is operating, the media will not move backward even if you remove your hands from it.
When loading the media from the front of the printer, feed the leading edge of the media (the side where printing will start) over the platen, and then pull the media to the front to activate the suction fan.

- (Move to the front of the printer.) Insert the leading edge of the media into the dryer.
- Make sure the right edge of the media is in line with the guide line (A).

- Lower the loading lever (front).
The media is held in place.

- Line up the edges of the media with the centers of the holes of the left and right media clamps.
 IMPORTANT
Be sure to use the media clamps when you load media.
If you attach the media clamps directly before printing after the media setup is complete, the machine may print on the media clamps.
- Close the front cover.
1. B: Determine the positions of the media (transparent media, etc.).
- Set the Skewing Correction Support at Setup.
- Tap .
- Select Disable and tap Save.
- Tap to go back to the original screen.
- Tap
- Open the front cover.
- Move the media clamps to the outside of the grit rollers on the left and right edges respectively.
- (Move to the rear of the printer.) Release the locking mechanisms of the media holders, and then draw them to the left and right ends respectively.
- Pass the leading edge of the media between the pinch rollers (A) and the grit rollers (B).
- Lower the loading lever (rear).The media is held in place.

- (Move to the front of the printer.) Gently hold down the media and raise the loading lever (front).The media is released.

- Insert the leading edge of the media into the dryer.
- Make sure the right edge of the media is in line with the guide line (A).
- Lower the loading lever (front).
The media is held in place.
- Line up the edges of the media with the centers of the holes of the left and right media clamps.IMPORTANT
Be sure to use the media clamps when you load media.
If you attach the media clamps directly before printing after the media setup is complete, the machine may print on the media clamps.
- Close the front cover.
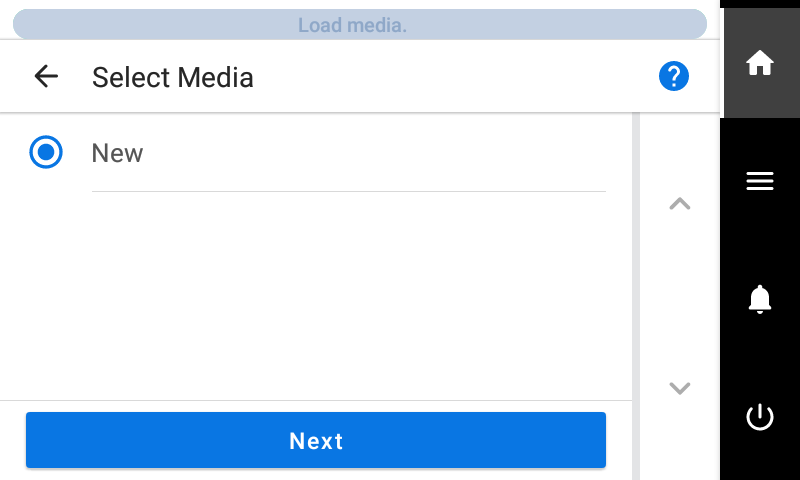
2. Register the media.
- Tap
 Setup.
 - Select New.
- Tap Next.
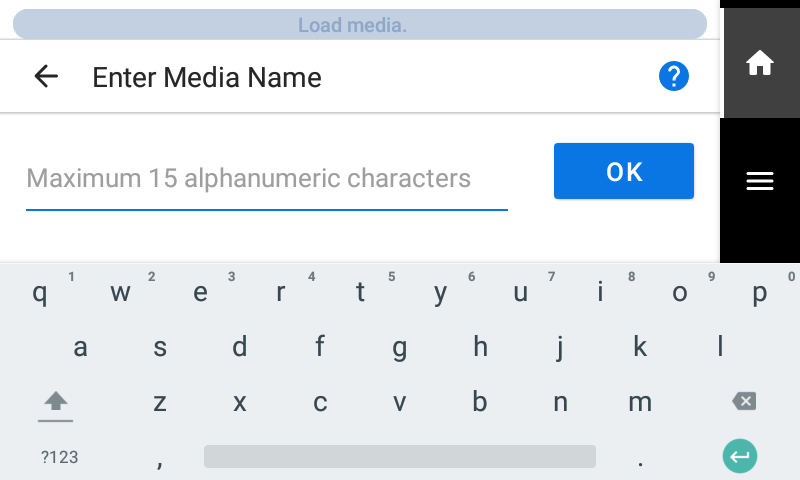
- Enter a new media name and tap OK.
- Tap Next.
- On the Select Sheet Type screen, select Opaque/Transparent and tap Next.
-
The Sheet Settings screen appears. Configure the settings as shown below depending on the sheet type.
- For opaque media
- Tap Side Margin to set the margin.
You can select 5 mm (0.2 in.), 10 mm (0.39 in.), or 25 mm (0.98 in.).
- Tap OK.
- Tap Side Margin to set the margin.
- For transparent media, etc.
- Sheet Width setting
- Tap
 next to Sheet Width.
 - Enter the sheet width and tap OK.
- Tap
- Sheet Right Edge setting
- Tap Change next to Sheet Right Edge.
- Tap
 or
or  to move the carriage's base point mark to the right edge of the media, and then tap OK.
- Side Margin setting
- Tap Side Margin to set the margin.
You can select 5 mm (0.2 in.), 10 mm (0.39 in.), or 25 mm (0.98 in.).
- Tap OK.
- Tap Side Margin to set the margin.
- Sheet Width setting
- For opaque media
- On the Setup Method screen, select Do Not Use Take-up Unit/Use Take-up Unit and tap Start Setup.
3. Configure settings to match the media.
To ensure the optimal output according to the media size and type, you can set the minimal amount of items. All items set here can be set individually as well.
- Adjust the print head height using Print Head Height.
- If this is not necessary, tap Next.
- Follow the procedure below to make adjustments.
- Tap Change
- Open the front cover.
- Move the height-adjustment lever to adjust the head height.
- Close the front cover.
- Tap OK.
- Tap Next.
- On the Nozzle Drop-out Test screen, configure the Printing Test or Printing Test (Drying Enabled) and Output Start Location settings.
- If this is not necessary, tap Next.
- To perform a Printing Test, tap or .MEMO Printing Test is recommended. However, the ink will not dry, so if you want to dry the ink, select Printing Test (Drying Enabled).
For details on what to do after the printing test, refer to Step 2: Performing Normal Cleaning. - On the Select Media Adjustment Method screen, select the adjustment method.Here, the media feed correction for reducing horizontal bands and the correction of the landing position of the ink will be adjusted. Select manual adjustment for transparent media and media with high reflectance, whose edges cannot be detected.MEMO Simple Correction (Auto) is the recommended adjustment. You can determine the correction values with Detailed Correction (Manual).
- Follow the procedure below to make automatic adjustments.
- Tap .
- Tap Execute on the Batch Automatic Correction screen.
On successful completion of automatic adjustment, the home screen appears. This completes the settings.
For more information, refer to Automatically Making Required Adjustments.
- Follow the procedure below to make manual adjustments.
- Tap .
- Perform a printing test on the Detailed Feed Correction (Manual) screen.
Set the correction value from the printing test result. For more information, refer to Manual Adjustment: Reducing Horizontal Bands (Feed Correction).
- Tap Save and Proceed.
- Perform a printing test on the Detailed Media Gap Adjustment (Manual) screen.
Set the correction value from the printing test result. For more information, refer to Manual Adjustment: Adjusting the Misalignment of the Ink Landing Position (Media Gap Adjustment).
- Tap Save and Exit.
- Follow the procedure below to make automatic adjustments.