
Replacing the wiper cleaner
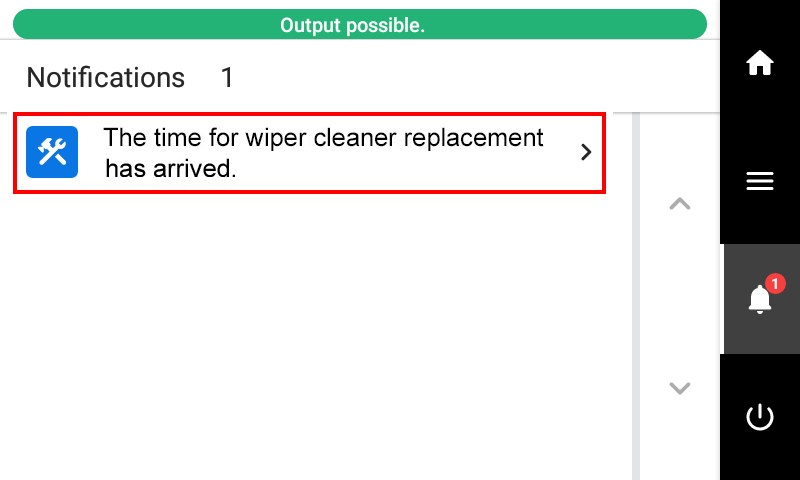
Replacement is necessary if the The time for wiper cleaner replacement has arrived. message appears.
For information about purchasing wiper cleaners, contact your authorized dealer or visit our website (https://www.rolanddg.com/).
WARNING
Be sure to perform operations as specified by the instructions, and never touch any area not specified in the instructions.
Sudden movement of the machine may cause injury.
| Required items | |||
|---|---|---|---|
 |
 |
 |
 |
| Wiper cleaner | Tweezers | Cleaning stick | Cleaning liquid |
Procedure
- When the message The time for wiper cleaner replacement has arrived. appears, tap OK.
- Remove any media.
-
Tap
 to display the messages.
-
Tap The time for wiper cleaner replacement has arrived..
 The Wiper Cleaner Replacement screen appears.
 -
Tap Execute.
The print-head carriage moves to a location where wiper cleaner replacement is possible.
-
When Open the right cover. appears, open the right cover.

-
Touch the location shown in the figure to discharge any static electricity.

- Tap Finish All.
-
When Open the flushing cover. is displayed, grasp the part indicated by , and open the flushing cover.

-
Use a pair of tweezers to replace the wiper cleaner.
-
While pressing the lock () down, open the wiper cleaner cover.

MEMO The procedure is displayed on the operation panel.- Tap
 or
or  to check the procedure.
 - If you complete the work without viewing the instructions, tap Finish All.
- Tap
-
Remove the wiper cleaner from the protrusions (A) used for positioning, and then pull the cleaner up and out.

-
Attach the new wiper cleaner.
Insert the wiper cleaner so the holes (A) match the protrusions (B). Because wiper cleaners do not have a specified front or back, they can be attached with either orientation.

-
While pressing the lock () down, open the wiper cleaner cover.
-
Moisten a new cleaning stick with the cleaning liquid.
MEMO
- Be sure to use one of the included cleaning sticks.
- Do not use a previously used cleaning stick.
- Do not put a previously used cleaning stick into the cleaning liquid.

-
Push the cleaning stick against the top and bottom surfaces of the wiper cleaner to apply the cleaning liquid.

-
Close the wiper cleaner cover and the flushing cover.
Firmly push the flushing cover closed to ensure that it is locked.

- When the replacement of the wiper is complete, tap Finish All.
-
When Close the cover. appears, close the right cover.
When you close the right cover, you are returned to the original screen.
-
Tap
 to go back to the original screen.