
Tiling an Image
When printing an image that will not fit on the width of the roll media, or when printing divided onto multiple media (objects to be printed on) with a flat-bed printer, configure the tile position and size settings.
-
In the job list, double-click the job.
The Job Settings window appears.
-
Click
 .
The image in the layout area is zoomed in on.
.
The image in the layout area is zoomed in on. -
In Tiling, select one of the tiling methods shown below.
-
Manual Tiling
Sets the number of tiles and the tile size. This print data is tiled by a blue vertical line according to the media size. Next adjust the position so that a face is not divided.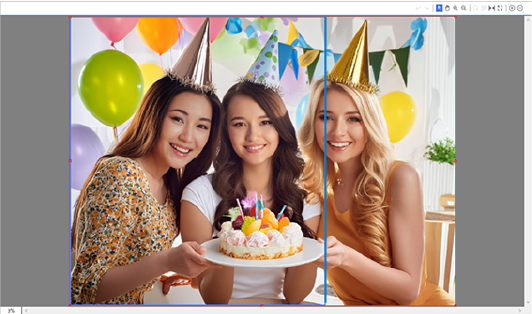
-
Align the pointer with the tiling line (blue line) in the layout area preview.
The pointer changes to .MEMO When the pointer is aligned with the red square shape (clip point) on the tiling line, the pointer shape changes to
 . Drag to the left to clip the image and change the part that is printed.
- When dividing the image, point to any point other than the clip point on the tiling line.
- Drag the tiling line and move it to the location where you want to divide the image.

If you want to further divide the image horizontally, align the pointer with the red line on the right edge or left edge and drag the line.
-
To divide the image divided vertically also, align the pointer with the red line at bottom edge or top edge of the preview and drag the line.
-
- Tile SizeDivides the job evenly at the specified size with the origin at the upper-left corner of the media. The tiles on the right and bottom edges may be smaller than the specified size.
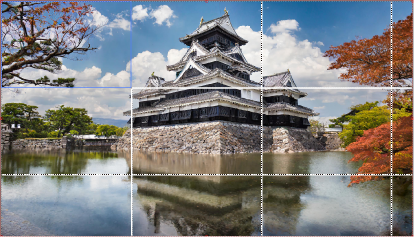
Select the tile size from the Size list. If you want to set a size other than the standard sizes, select CustomCUT or CustomROLL, and then enter the width and length.
- Number of TilesDivides the job into the number of tiles specified with Horizontal and Vertical. All tiles have the same size.
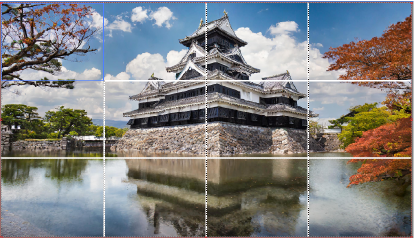 Select the Place alternated check box to rotate the tiles in even-numbered columns 180 degrees. This will make the seam color difference less visible when the tiles are pasted together.
MEMO You can show or hide each tile by right-clicking it in the layout area. Hidden tiles are not printed. However it is not possible to set so that all tiles are not printed.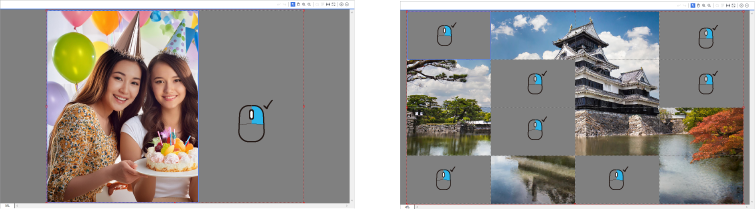
-
-
Click
 .
You can use the layout area to check how the tiled image is arranged on the media.MEMO To arrange the layout, drag the preview of the tiled image directly or click
.
You can use the layout area to check how the tiled image is arranged on the media.MEMO To arrange the layout, drag the preview of the tiled image directly or click or
or  .
. - Click OK to close the Job Settings window.