
Maintaining the Clipped Position
Print a clipped image while maintaining its original position. You can reprint only the necessary part of the same print data.
As an example, this explains printing to multiple objects to be printed on using a flat table model.
- Place the jig (A) on the flat table, and position eight objects to be printed on.
- Create print data (B) for the jig size, and perform printing.

- Because a problem (C) occurred during printing, position an object to be printed on only in that position (D) and perform reprinting (E).

Procedure
-
In the job list, double-click the job.
The Job Settings window appears.
-
Click
 .
.
- Select the Clip Image check box.
-
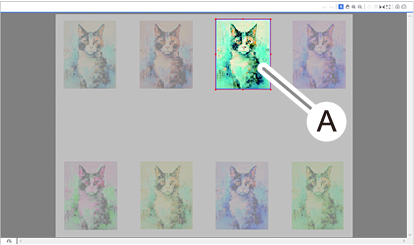
Part for reprinting: Set the clip area (A).
Either drag the red points in the layout area or use Top Left Position and Size under Clipping and set the clip area.
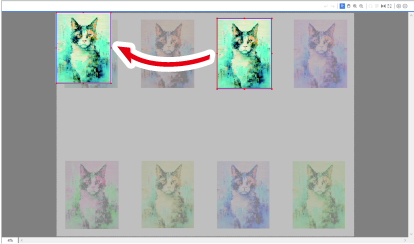
- Select the Maintain Clipped Position check box.
You can print a clipped image maintained at its original position.IMPORTANT If this setting is not made, the clipped image will automatically be placed in the origin position.
 MEMO Maintain Clipped Position cannot be set in the following situations:
- Tiling has been set.
- There are multiple pages.
- Nested job
- Multiple copies are printed.
- Click OK to close the Job Settings window.