
3. Register the media.
Procedure
- Tap
 Setup.
 - Select New.
- Tap Next.

- Enter a new media name and tap OK.
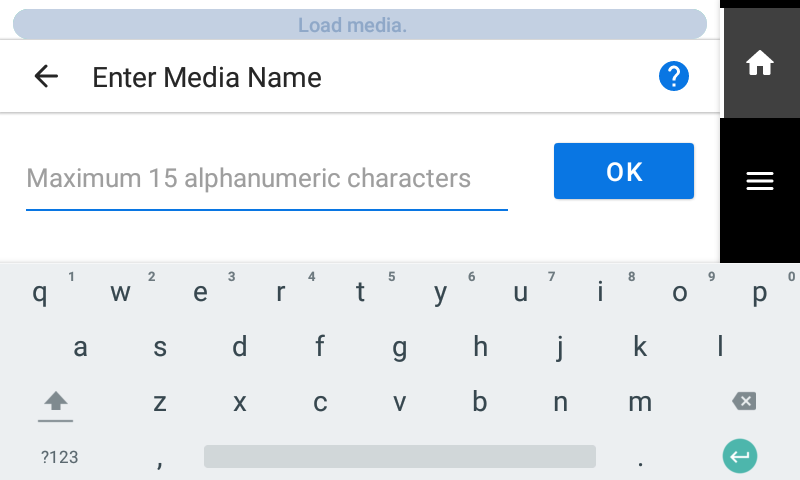
- Tap Next.
- The Setup Method screen appears. Select whether to use the take-up unit.
- Tap Start Setup.The cutting carriage moves and detects the width of the media and the positions of the media clamps. This operation is called initialization.
- When The media could not be detected automatically. Manually set the printing area. appears, use the following procedure to configure the settings.MEMO This message may appear when media with high reflectance is set up.
- Hold down
 to move the center of the blade (A) approximately 2 mm (0.08 in.) to the inside (B) from the left edge of the right pinch roller.
- Hold down to move the center of the blade (A) approximately 2 mm (0.08 in.) to the inside (B) from the right edge of the left pinch roller.

- Hold down