
Installing and Starting Output Manager
Output Manager is a Windows app that sets the print data save destination and delivers print data to the RIP.
Output Manager should be installed on the PC where the RIP is installed. This will be the PC of a user who has Operator privileges (or Power User privileges) and is responsible for printing work.
Downloading
Procedure
-
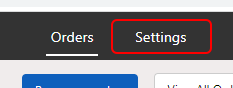
Click Settings.
-
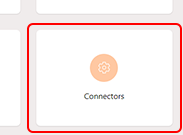
Click Connectors.
-
Click Click to download Output Connector.
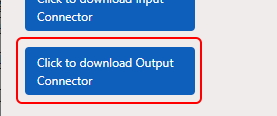 The window for selecting the installer save folder appears.
 - To specify the save folder, click Save.
Installation
Procedure
-
Double-click "PrintAutoMate_OutputManager_**_Setup.exe" in the Output Manager download destination folder.
** in the file name indicates the version number. The file extension may not be displayed depending on the Windows settings.
- If a User Account Control window appears, click Yes.
- Follow the on-screen instructions to perform installation.
Starting
Procedure
-
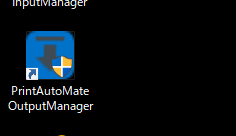
Double-click the "PrintAutoMate OutputManager" icon that is displayed on the desktop.
-
If a User Account Control window appears, click Yes.
The PAM login window appears.
- Enter the PAM account information (ID and password), and then click OK.