
Starting Imprinting
Send imprint data to the machine and start imprinting. Check that the machine and the computer are connected with the included USB cable.
IMPORTANT To prevent damage to the head, table, and similar parts, do not start imprinting in the following situations.
- When no material is loaded
- When the head is not set at an appropriate position based on the surface height of the material in the case that you do not use the head cap.
Procedure
- Close the cover.
-
Click
 .
The Print window appears.
.
The Print window appears.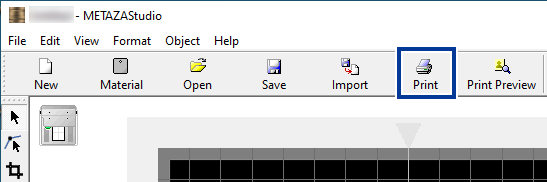
-
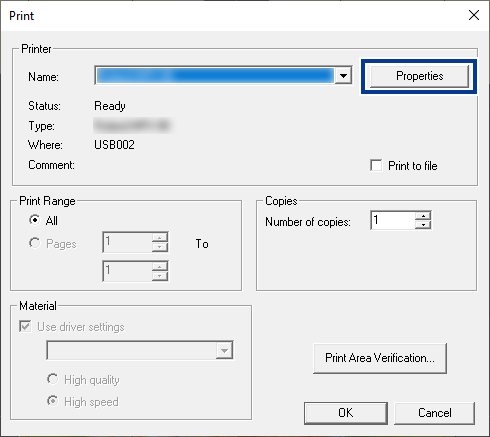
Check that Roland MPX-90 is selected for Name, and then click Properties.
-
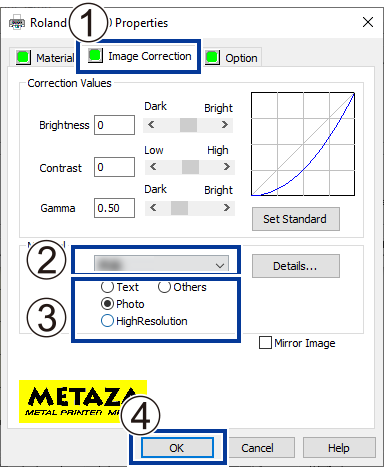
Configure the imprinting settings.
-
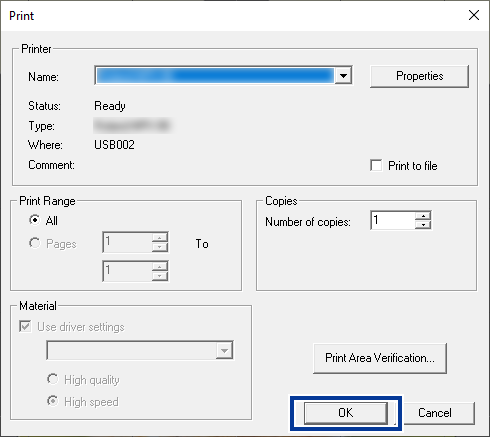
In the Print window, click OK.
The imprint data is sent to the machine and imprinting starts.
-
After imprinting has finished, open the cover and detach the material.
Do not open the cover until the head has moved to the back left corner and operation has completely stopped.
If the material is difficult to detach when using the adhesive sheet, inserting a thin, flat object (such as a piece of cardboard) between the adhesive sheet and the material may make it easier to detach.