
Step 3: Configuring Adobe Illustrator Plug-in Output Settings
Procedure
- Start Adobe Illustrator.
-
Click .
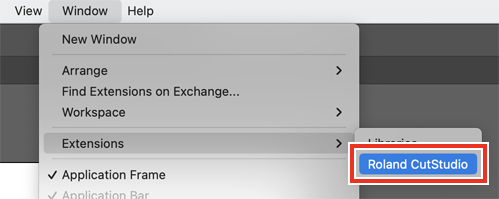
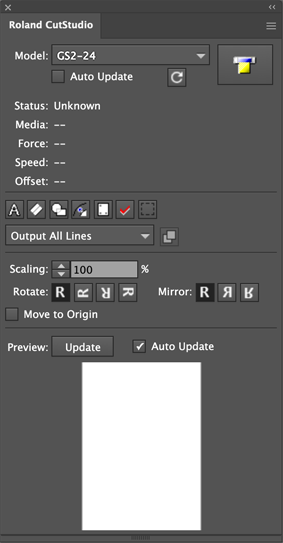
The Roland CutStudio palette appears.
-
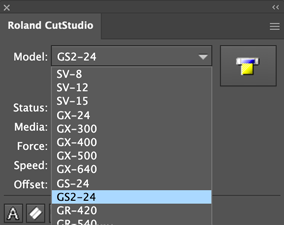
Select GS2-24 from the Model list.
-
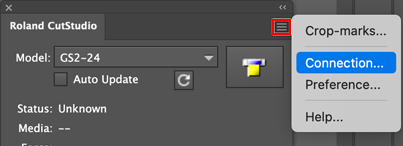
Click
 , and then select Connection.
-
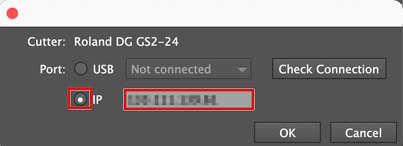
Select IP, and then enter the IP address you determined in step 1 of Step 2: Setting the IP Address of the Machine to Connect.
Example:
If the IP address of the machine is [192.168.000.061], enter [192.168.0.61].
-
Click Verify.
If the connection with the machine is established successfully, Success! appears.
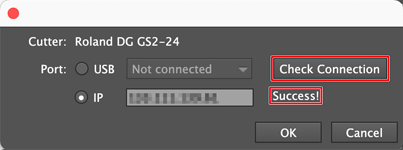
If Failed. appears, check whether the IP address has been entered correctly.
- Click OK.
-
Repeat steps 4 to 7 to set the connection for the second machine.
MEMO
You can switch the machine that will output data by entering the IP address of the machine that will output to the Adobe Illustrator plug-in.