
Adjusting the Printing Position
If the printing position and the cutting position are offset as shown in the following figure, you can correct the issue by adjusting either the printing position or the cutting position. This example shows the procedure for adjusting the printing position.

- : Intended cutting line
- : Actual cutting line
-
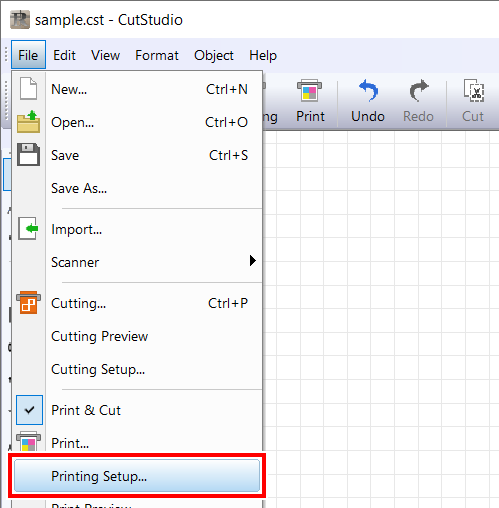
In CutStudio, click .
-
Select Fine adjustment, and click Adjust.
The Crop Mark Adjustment window is displayed.
-
Align the position with respect to a line or point () that is close to the origin ().
Adjust the BaseX and BaseY values to eliminate the misalignment, and then click OK.

-
When the cutting position deviates to the left or right of the printing position
Change the BaseX value. If the cutting position is offset to the right of the printing position, increase the value; if it is offset to the left of the printing position, decrease the value. In the case shown in the above figure, increase BaseX.
-
When the cutting position deviates above or below the printing position
Change the BaseY value. If the cutting position is offset above the printing position, increase the value; if it is offset below the printing position, decrease the value. In the case shown in the above figure, increase BaseY.
If the printing and cutting positions are misaligned at a location distant from the origin () as shown in the following figure even after adjusting the positions with BaseX and BaseY, expanded, contracted, or distorted material may be causing the distance between the printed crop marks to deviate from the setting (W, L). Proceed to step 4.

-
-
Set W and L on the Crop Mark Adjustment window, and correct the differences.
However, the values are merely guidelines. The optimal values must be found by changing the values and actually cutting the material several times.
IMPORTANT Before setting, check that BaseX and BaseY have been adjusted with respect to a line or point close to the origin (). If aligned with respect to a point far away, the adjustment result of Step 3 will deviate when W and L are set.- Cutting lines deviate outward from the printing position
This may be because the distance between the printed crop marks is longer than the setting. In this case, set W and L greater than the settings to adjust the positioning.

- Cutting lines deviate inward from the printing position
This may be because the distance between the printed crop marks is shorter than the setting. In this case, set W and L smaller than the settings to adjust the positioning.

- : Origin point
IMPORTANT The values entered in Crop Mark Adjustment window are effective only when Adjust is selected in the Printing Setup dialog box. All the entered values are cleared if Fine adjustment is unselected or when the W and L settings of CROPMARK are changed.
MEMOIf the sensor fails to read the crop marks, the screen shown below appears.
If the following screen appears, refer to Crop Marks Are Not Detected to resolve the error.

If that does not resolve the issue, switch to Tool Mode, and then perform aligning. Print & Cut in Tool Mode
- Cutting lines deviate outward from the printing position