
Step 3: Attaching the Collet
Procedure
-
Lightly apply grease to the top portion () on the outside of the collet.
A thin application of grease is sufficient. Do not apply excessively.
MEMO Be careful not to allow grease to get into the grooves on the sides of the collet.
-
Insert the collet () into the spindle and rotate it in the direction shown in the figure.
Rotate the collet by hand until it no longer naturally falls.

-
Attach the 0.3 N·m sleeve onto the torque screwdriver.
IMPORTANT
Be sure to use the 0.3 N·m torque screwdriver sleeve. Failing to do so may lead to a loose collet during milling, which will affect the milling quality and damage the collet.

-
Attach the collet attaching/detaching jig onto the torque screwdriver with the sleeve attached.

-
Use the torque screwdriver to retighten the collet.
Align the collet with the groove in the collet attaching/detaching jig. Tighten the screws until turning the handle of the torque screwdriver no longer turns the screw bit.

-
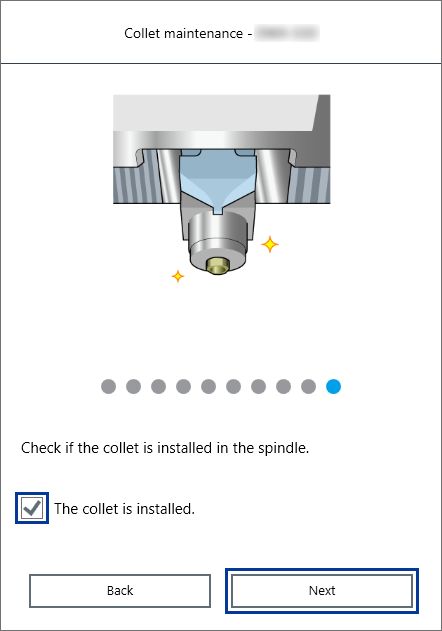
Confirm that the collet is installed in the spindle, and then click Next.
-
Close the front cover.
Gently pull up on the front cover and then lower it until a click is heard.

Collet maintenance is complete when the spindle unit moves to its original position and The operation is complete. is displayed.