Step 3: Filling the Coolant Tank
Do not overfill or tilt the coolant tank.
The fluid inlet on the coolant tank is open. Overfilling or tilting will cause fluid to spill out.
When raising or lowering the coolant tank, hold the parts indicated in the following figure.
Failing to do so may result in your fingers being pinched, leading to injury.
Items to prepare yourself
- Water (soft or purified water)
- Additive (ZAW-1000D)
- Chelating reagent (ZCH-250D)
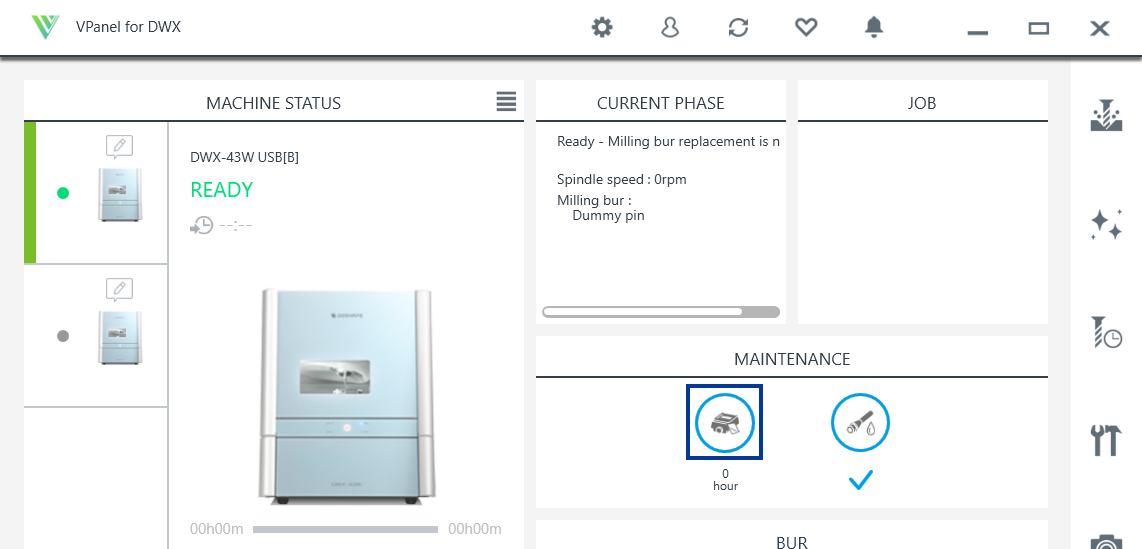
1. Remove the coolant tank.
-
Click
 .
.

- Click Next.
-
Gently push the bottom cover, and then lower it toward you to open it.
-
Remove the coolant tank.
CAUTION
When removing the coolant tank, hold the handle as shown in the figure.
Placing a finger under the drawer may lead to injury due to your finger hitting the cover.
2. Fill the machine with coolant
-
Remove the lid of the coolant tank () and the basket-shaped filter ().
Lift the lid and the basket-shaped filter together to remove them at the same time.
-
Place the collection tray () inside the coolant tank.
Orient the collection tray with the hole in front (the side with the coolant tank cap) and bring it to the front, positioning it in the center on the left and right.
-
Install the basket-shaped filter in the coolant tank.
-
Check that the coolant tank cap is tightened.
-
Make the coolant.
To make the coolant, mix three types of fluid—the water, additive (ZAW-1000D), and chelating reagent (ZCH-250D)—at fixed ratios. Use the included measuring cup for measuring.
-
Fill the coolant tank with the coolant.
Do not add coolant past the "MAX" level written on the coolant tank.
-
Put the lid on the coolant tank.
Orient the lid to match the shape of the filter handles, and then place the lid so it fits securely.
3. Install the coolant tank
-
Return the coolant tank to its original position.
-
Push the coolant tank toward the back of the machine.
Push the coolant tank to the point where you feel a click.
MEMOMove the coolant tank slowly. Forcefully moving the coolant tank may cause the coolant to spray out.
Align the label affixed to the right side of the coolant tank with the label affixed to the machine.
-
Close the bottom cover.
- Click Complete.