Adjusting cutting
Procedure
- Load the media to be cut.
- Open the Utility window.
-
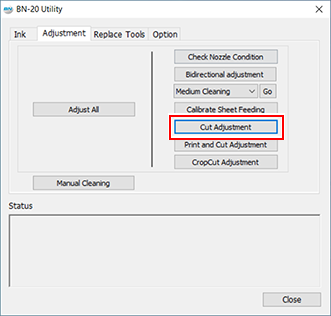
Click Cut Adjustment.

-
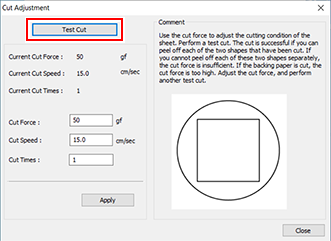
Click Test Cut.
Test cutting is performed.

-
Enter values in the Cut Force, Cut Speed, and Cut Times boxes.
- Cut Force
- Force at cutting time. If this force is too strong, the blade cuts into the backing paper. (Default setting: 50 gf)
- Cut Speed
- Cutting speed. If the speed is too fast, the cut line is crooked. (Default setting: 15 cm/sec)
- Cut Times
- The number of times to cut the same location. If it is impossible to cut even if you adjust the cut force and cut speed, increase the cut times. (Default setting: 1)
Check item Result Setting item Adjustment Check the shape. The cut shape is distorted. Cut Speed Reduce Peel off the circle. The square also peels off Cut Force Increase Some uncut areas remain. Cut Speed Reduce Peel off the square. The blade leaves faint traces on the backing paper. Cut Force No change The blade trace is indistinct. Increase The blade trace is too deep and cuts into the backing paper Reduce -
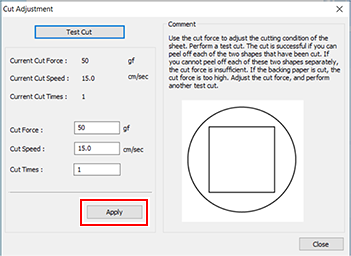
Click Apply.
Repeat Test Cut and adjustment until correctly adjusted.

- Click Close.


