
Step 4: Creating Data while Checking the Position
Procedure
-
Follow the procedure below to start FlexiDESIGNER.
-
Follow the procedure below to import the photo file saved in Step 1: Alignment Marker Printing into FlexiDESIGNER.
-
Select the photographed image file, and then click Import....
The captured image is cropped to the size of the four alignment markers (210 mm × 148 mm [8.27 in. × 5.83 in.]) and is displayed in the design area.
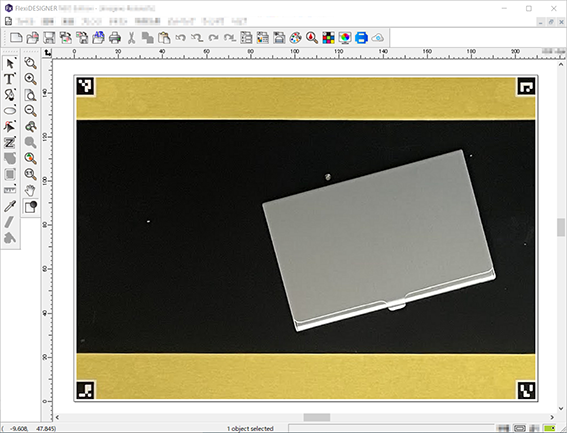 MEMO If the alignment markers cannot be read, Conversion failed the original image will be used. is displayed. Refer to Alignment Markers Cannot Be Read to perform imaging again and reading again.
-
Select the photographed image file, and then click Import....
-
Create and save the print data.
Print data is created with the object in the background, so you can work while visualizing how it will look after printing.
See "Introduction to FlexiDESIGNER" for information on creating print data.