Configure the Default Settings of Each Queue Folder
Configure these settings when you want to configure dedicated settings such as specific media or request details in a queue folder and then print with the same settings. Configure the settings of the queue folder in the Queue Properties window.
- The settings are applied to all print data that is added to each queue folder.
- This section explains how to configure the minimum settings required for printing (the size and type of the media to use in printing and the printing quality). Configure other settings according to the application.
Furthermore, if you are not familiar with VersaWorks operations or if you are not configuring specialized settings, you do not have to configure the Queue Properties settings. You can change the settings for each printing data entry to print with the same settings as if you had configured the Queue Properties settings.
Procedure
-
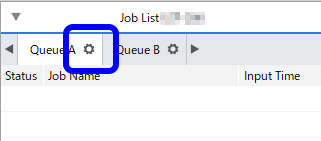
Click
 for the queue folder that you want to use.
The Queue Properties window appears.
-
To set the size of the material, click
 and perform the following procedure.
-
- Manual setup
- Select the desired size from , and then click OK.
- If you want to specify a size, select CustomROLL or CustomCUT, and then set W or W and H.
- Automatic Setup
- Set up the media.
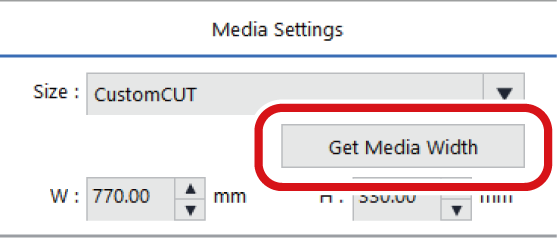
- Click .

Obtain the W or W and H for the media that has been set up, and then configure the settings.
- Manual setup
- Click
 .
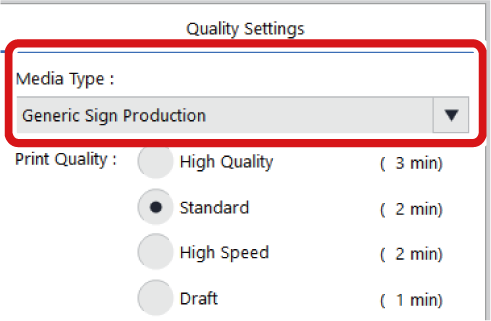
. - Select the type of the media to print on from the Media Type list.

-
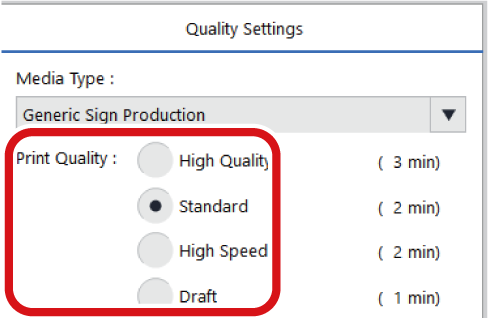
Use Print Quality to select the printing quality.

- Click OK. The print settings you have set are saved. You can also configure many other settings for the queue folder.