Creating a Shape and Setting It as the Data for Printing the White Base
Use the following procedure to create a shape that is the same size as the image, set this shape as the data for printing the white base, and layer this image below the photograph.
Procedure
-
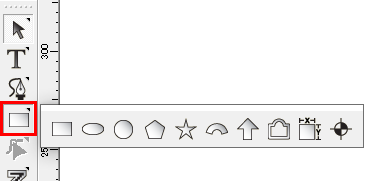
Click
 .
.
If the rectangle tool is not displayed, hold down the button to select it.
-
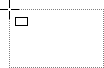
Drag the mouse pointer to create a rectangle.
The size of the shape is not important because it will be set at a later point in time.
-
Click
 , and then click the rectangle.
-
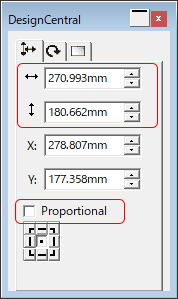
Set the size of the rectangle in the Design Central dialog box.
Clear the Proportional check box, and then enter the size recorded in step 6 under Importing Sample Images.
-
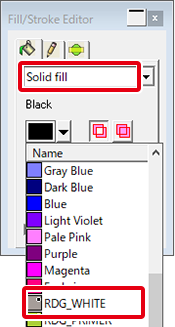
In the Fill/Stroke Editor dialog box, select Solid fill, and then set the color of the rectangle to RDG_WHITE.
-
Check that the rectangle is selected, and then click .
The rectangle is placed in the layer below the image.
-
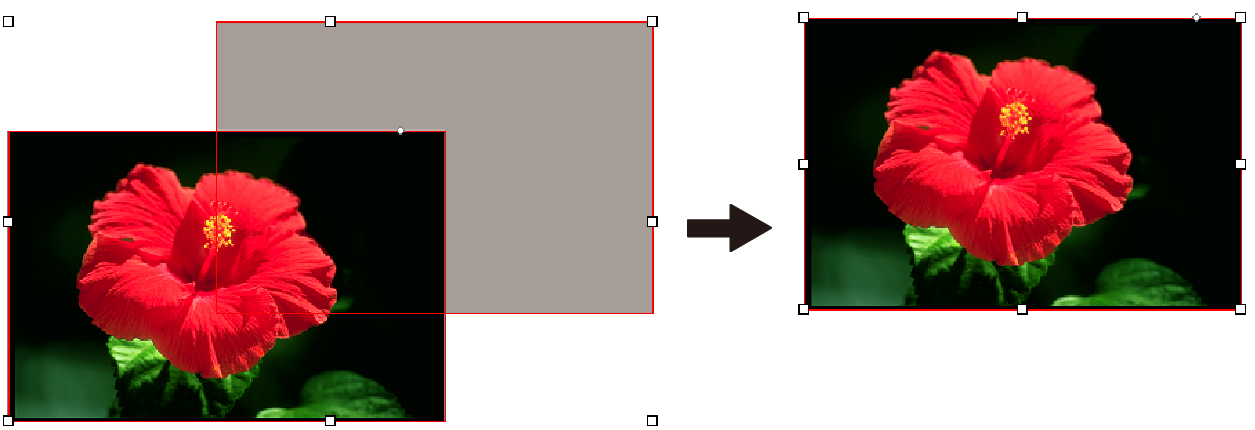
Align the image and the rectangle.
Select the image and the cutting line, and then click .
The center points of the two objects are matched, aligning these objects.