
2. Install the software from Roland DG Connect Hub.
Use Roland DG Connect Hub to install the related software. After the software is installed, you can perform operations such as starting and updating the software from Roland DG Connect Hub.
- Windows 11: Version 24H2
- Windows 10: Version 22H2
- Mac: macOS 15.2
- Start Roland DG Connect Hub.
- Windows
Click the Roland DG Connect Hub icon in the notification area.
- Mac
Click the Roland DG Connect Hub icon on the Dock.
MEMOWhen using Windows, if you have cleared the [Launch Roland DG Connect Hub] checkbox in the Roland DG Connect Hub setup wizard, start the software from the [Start] menu after setup finishes.
- Windows
- Refer to the Master Initial Setting Guide to perform the following operations.
- Create a Roland DG Connect ID.
If you already have an ID, proceed to the next step.
- Configure the Connect Hub settings.
- Create a Roland DG Connect ID.
- In the main window, select the machine to use.MEMO
If the printer to register cannot be found, see the "Roland DG Connect Help."
https://support.rolanddg.com/hc/en-us/categories/6469527154585-Roland-DG-Connect
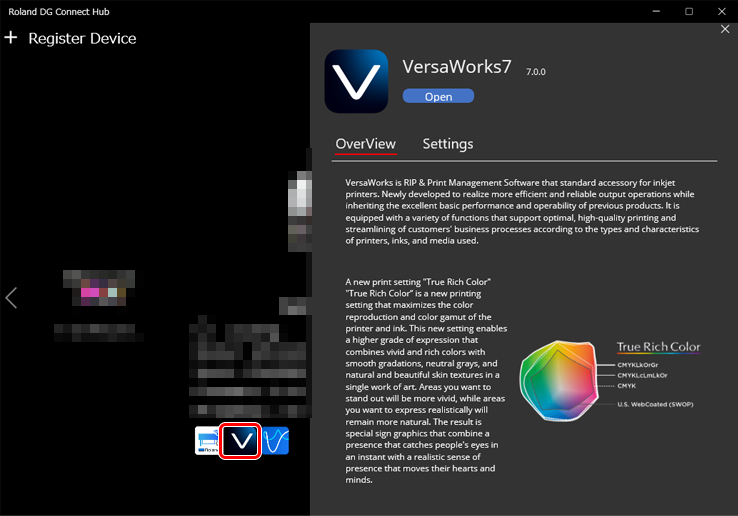
- Click the software icon.A sidebar appears on the right side of the window.
- Click Install.
The software installation starts.
To install multiple pieces of required software, click the icon for each piece of software in the same way.
When all the software to use is installed, the procedure is complete.