
Setting Up the Object (Media)
-
On the Utility home screen, click
 Setup.
-
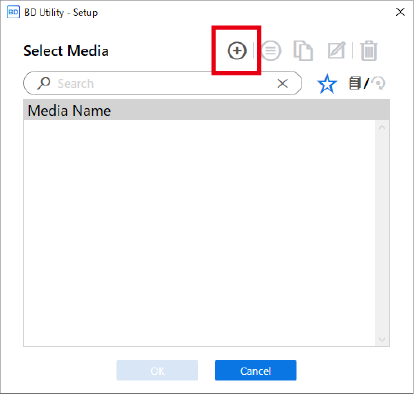
Register/select the object.
MEMO In Utility, "media" is used on the window used to register/manage objects.
- When printing on an object for the first time
- Click
 .
.
-
Enter a new media name and click OK.
Previously registered media names cannot be used. Enter a new media name.

The flat table goes down to its lowermost point.
- Click
-
For an object that has already been registered for the rotary axis unit
- Select the rotary axis unit media (media with a
 mark), and then click OK.MEMO
-
We recommend that you set frequently used objects as favorites.
- Click
 next to a registered media name to change this icon to
  .
. - Click
 next to the search box.The icon changes to
 , and the list of media set as favorites appears.
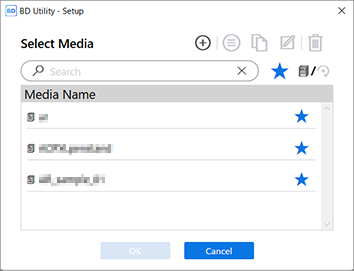
- Click
-
You can display all registered objects.
If a rotary axis unit is not attached, the names of flat table media are displayed. If a rotary axis unit is attached, the names of rotary axis unit media are displayed.
Click
 or
or  to display all registered objects.
 - You can use the favorites function and the search function to easily find registered objects.
- Media registered to the flat table cannot be selected for the optional item (rotary axis unit).
-
- Step 3 is not required. Proceed to Step 4.
- Select the rotary axis unit media (media with a
- When printing on an object for the first time
-
In the Object Type window, select one of the following, and then click OK.
- Transparent: A hand placed on the other side of the object can be seen through it.
If the object is transparent, select Others from the Transparent pull-down menu.
- Opaque: A hand placed on the other side of the object cannot be seen through it.
- Transparent: A hand placed on the other side of the object can be seen through it.
-
Click Change next to Flat Table Height to set the height of the object.
-
Click
 .
.
The flat table will automatically move to the location for setting the flat table height.
MEMO You can also move the flat table manually by clicking or
or  on the right side of the window.
-
Click
 on the left side of the window to have the object approach the head gap sensor.
- Move it to a position several mm below what is considered to be the highest position.
- If the height position is unclear, open the front cover and make the adjustments from a close distance.

-
Click
-
Select Print Origin from Origin Relative or Center Relative.
This section explains how to configure settings when Origin Relative is selected.MEMO
For details on Center Relative, refer to the BD-12/BD-8 User's Manual.
BD-12/BD-8 User's Manual - Object (Media) Registration Items
-
Click Change next to Print Origin and Printing Area to set the printable area.
- Print Origin setting
-
Select Pointer for Position Specification.
The print-head carriage moves to the bottom right point of the currently set printing area, and the pointer is lit.
-
Click
,  ,
,  , or
, or  to specify the print origin (lower-right corner of printing area).Align the pointer to the printing-start location of the object installed (print origin).
-
- Printing Area setting
-
Select Printing Area.
The print-head carriage moves to the top left point of the currently set printing area, and the pointer is lit.
-
Click
, , , or to specify the upper-left corner of the printing area.Specify the printing area for the object installed using the pointer.
-
Click OK.
Return to the [Flat Table Height], [Print Origin], and [Printing Area] settings window.
-
MEMO- If left without user input for approximately 3 minutes, the print-head carriage automatically returns to the standby position to prevent the print heads from drying out. Perform the procedure again.
-
You can also set Print Origin with Numeric Input.
In Position Specification, select Numeric Input, and then enter a value for S.
- Print Origin setting
-
Click OK.
Setup in progress. appears. Once setup is complete, you will be returned to the home screen, and the name of the registered media name and the printing area will appear.