
Step 1: Setting the Computer's Network
Procedure
- Log on to Windows as the Administrator or a member of the Administrators group.
-
Display the network connections screen.
- Windows 11
- Click .
- Click .
- Click Network and Sharing Center.
- Click Ethernet.
- Windows 10
- Click .
- Click Network and Sharing Center.
- Click Ethernet.
- Windows 11
-
Click Properties.
If a User Account Control window appears, click Continue.
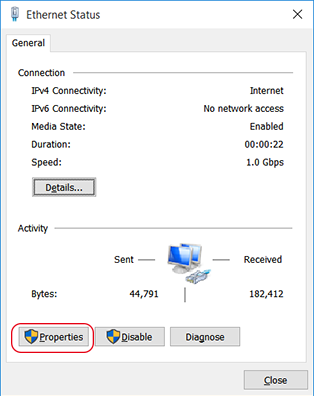
The Ethernet Properties screen appears.
-
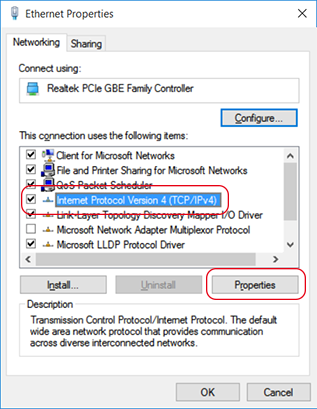
Select Internet Protocol Version 4 (TCP/IPv4), and then click Properties.
If the Internet Protocol check box is clear, select it.
-
Select Use the following IP address. Enter the information as shown below, and then click OK.
Item Address to enter IP address 192.168.0.XXX Subnet mask 255.255.255.0 Here, "XXX" can be any number from 1 to 254. However, be sure to specify a number that is different from the numbers used for other computers and devices.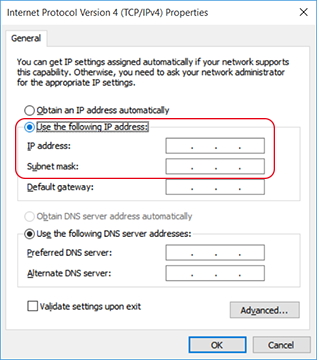
-
Click the following buttons to return to the original state.
- Close in the Ethernet Properties window
- Close in the Ethernet Status window