3 Perform position adjustment of the feed direction (reduce horizontal stripes).
-
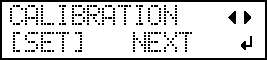
Press ◀ to select SET.
-
Press ENTER.
-
View the printed test pattern, and then determine the correction value.
The current correction value (
 ) is that of the figure indicated by "
 ." Select the value to make the gap (
 ) and overlap (
 ) between the upper/lower squares smallest (
 ). In the case of the following figure, select "-0.40." When you cannot choose between two sequential numbers, specify a value that is between them.
-
Press ▲ or ▼ to select the correction value.

-
Press ◀ to select SET.
-
Press ENTER to confirm your entry.
The test pattern is printed again. Check that the gap and overlap are the smallest for the figure indicated by "" (that is, the current correction value). If the gap and overlap are smaller for another figure, return to step 5. to perform the setting again.
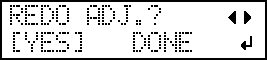
If you do not need to change the correction value, press ENTER again.
-
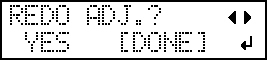
Press ▶ to select DONE.