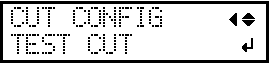
2 Adjust cutting.

For high-quality cutting, we recommend carrying out a cutting test to check the cutting quality for the media before you perform actual cutting. Adjust the blade force depending on the cutting quality.
  1. Close the front cover.
  2. Press while the following screen is displayed.
    The cutting carriage comes out over the platen.


  3. Press , , , or to move the cutting carriage to the location where you want to carry out the cutting test.
    You can freely set the location for the cutting test.
  4. Press FUNCTION.
  5. Press several times to display the screen shown below.


  6. Press to display the screen shown below.


  7. Press ENTER.
    The test pattern is cut.
  8. Peel off the cut shapes to verify the cutting quality.


    • Two shapes are peeled off separately

      You do not need to perform the setting because the blade force is appropriate.
    • Two shapes are peeled off together/backing paper is also cut

      Proceed to the next step to set the blade force.
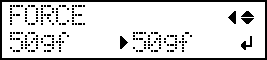
  9. Press to display the screen shown below.


  10. Press to display the screen shown below.


  11. Press or to select a value.
    • Two shapes are peeled off together

      Raise the blade force.

    • Backing paper is also cut

      Reduce the blade force.

  12. Press ENTER to confirm your entry.
  13. Press to display the screen shown below.


  14. Press ENTER.
    The test pattern is cut.
  15. Check whether the correction was successful.
At the [CUT CONFIG] menu, you can also make settings for other cutting conditions in addition to the blade force. Refer to the following page.